
Hello,
I am so happy to be hosting Hey June June this year. Hey June patterns was one of the first patterns I purchased when I started sewing for myself. They are some of the first patterns that come to mind when I want to copy a ready to wear garment. The instructions whether it is to sew a pant zipper, a welt pocket or a shirt collar and stand are extremely well written and easy to understand. So it’s no wonder I look at Hey June patterns first, every time I want to step out of my comfort zone and challenge myself with a new skill or technique.
This particular project and some other hacks and refashions that I hope to share later this week were born out of my need to do something with my fingers during a difficult time in the last couple months to keep my mind distracted. I wanted to do something fabric and sewing related, but couldn’t bear the idea of working with a huge piece of fabric, and dealing with cutting layouts and pattern piece placement. Taking apart an old shirt, seam by seam felt both manageable and enjoyable. Sleeve seams, side seams pockets and hems! It was mundane enough to not require precision or efficiency and tedious enough to keep my mind occupied. I didn’t have a specific plan until I took the seams apart and stared at it long enough till I felt the urge to alter it one way or the other.

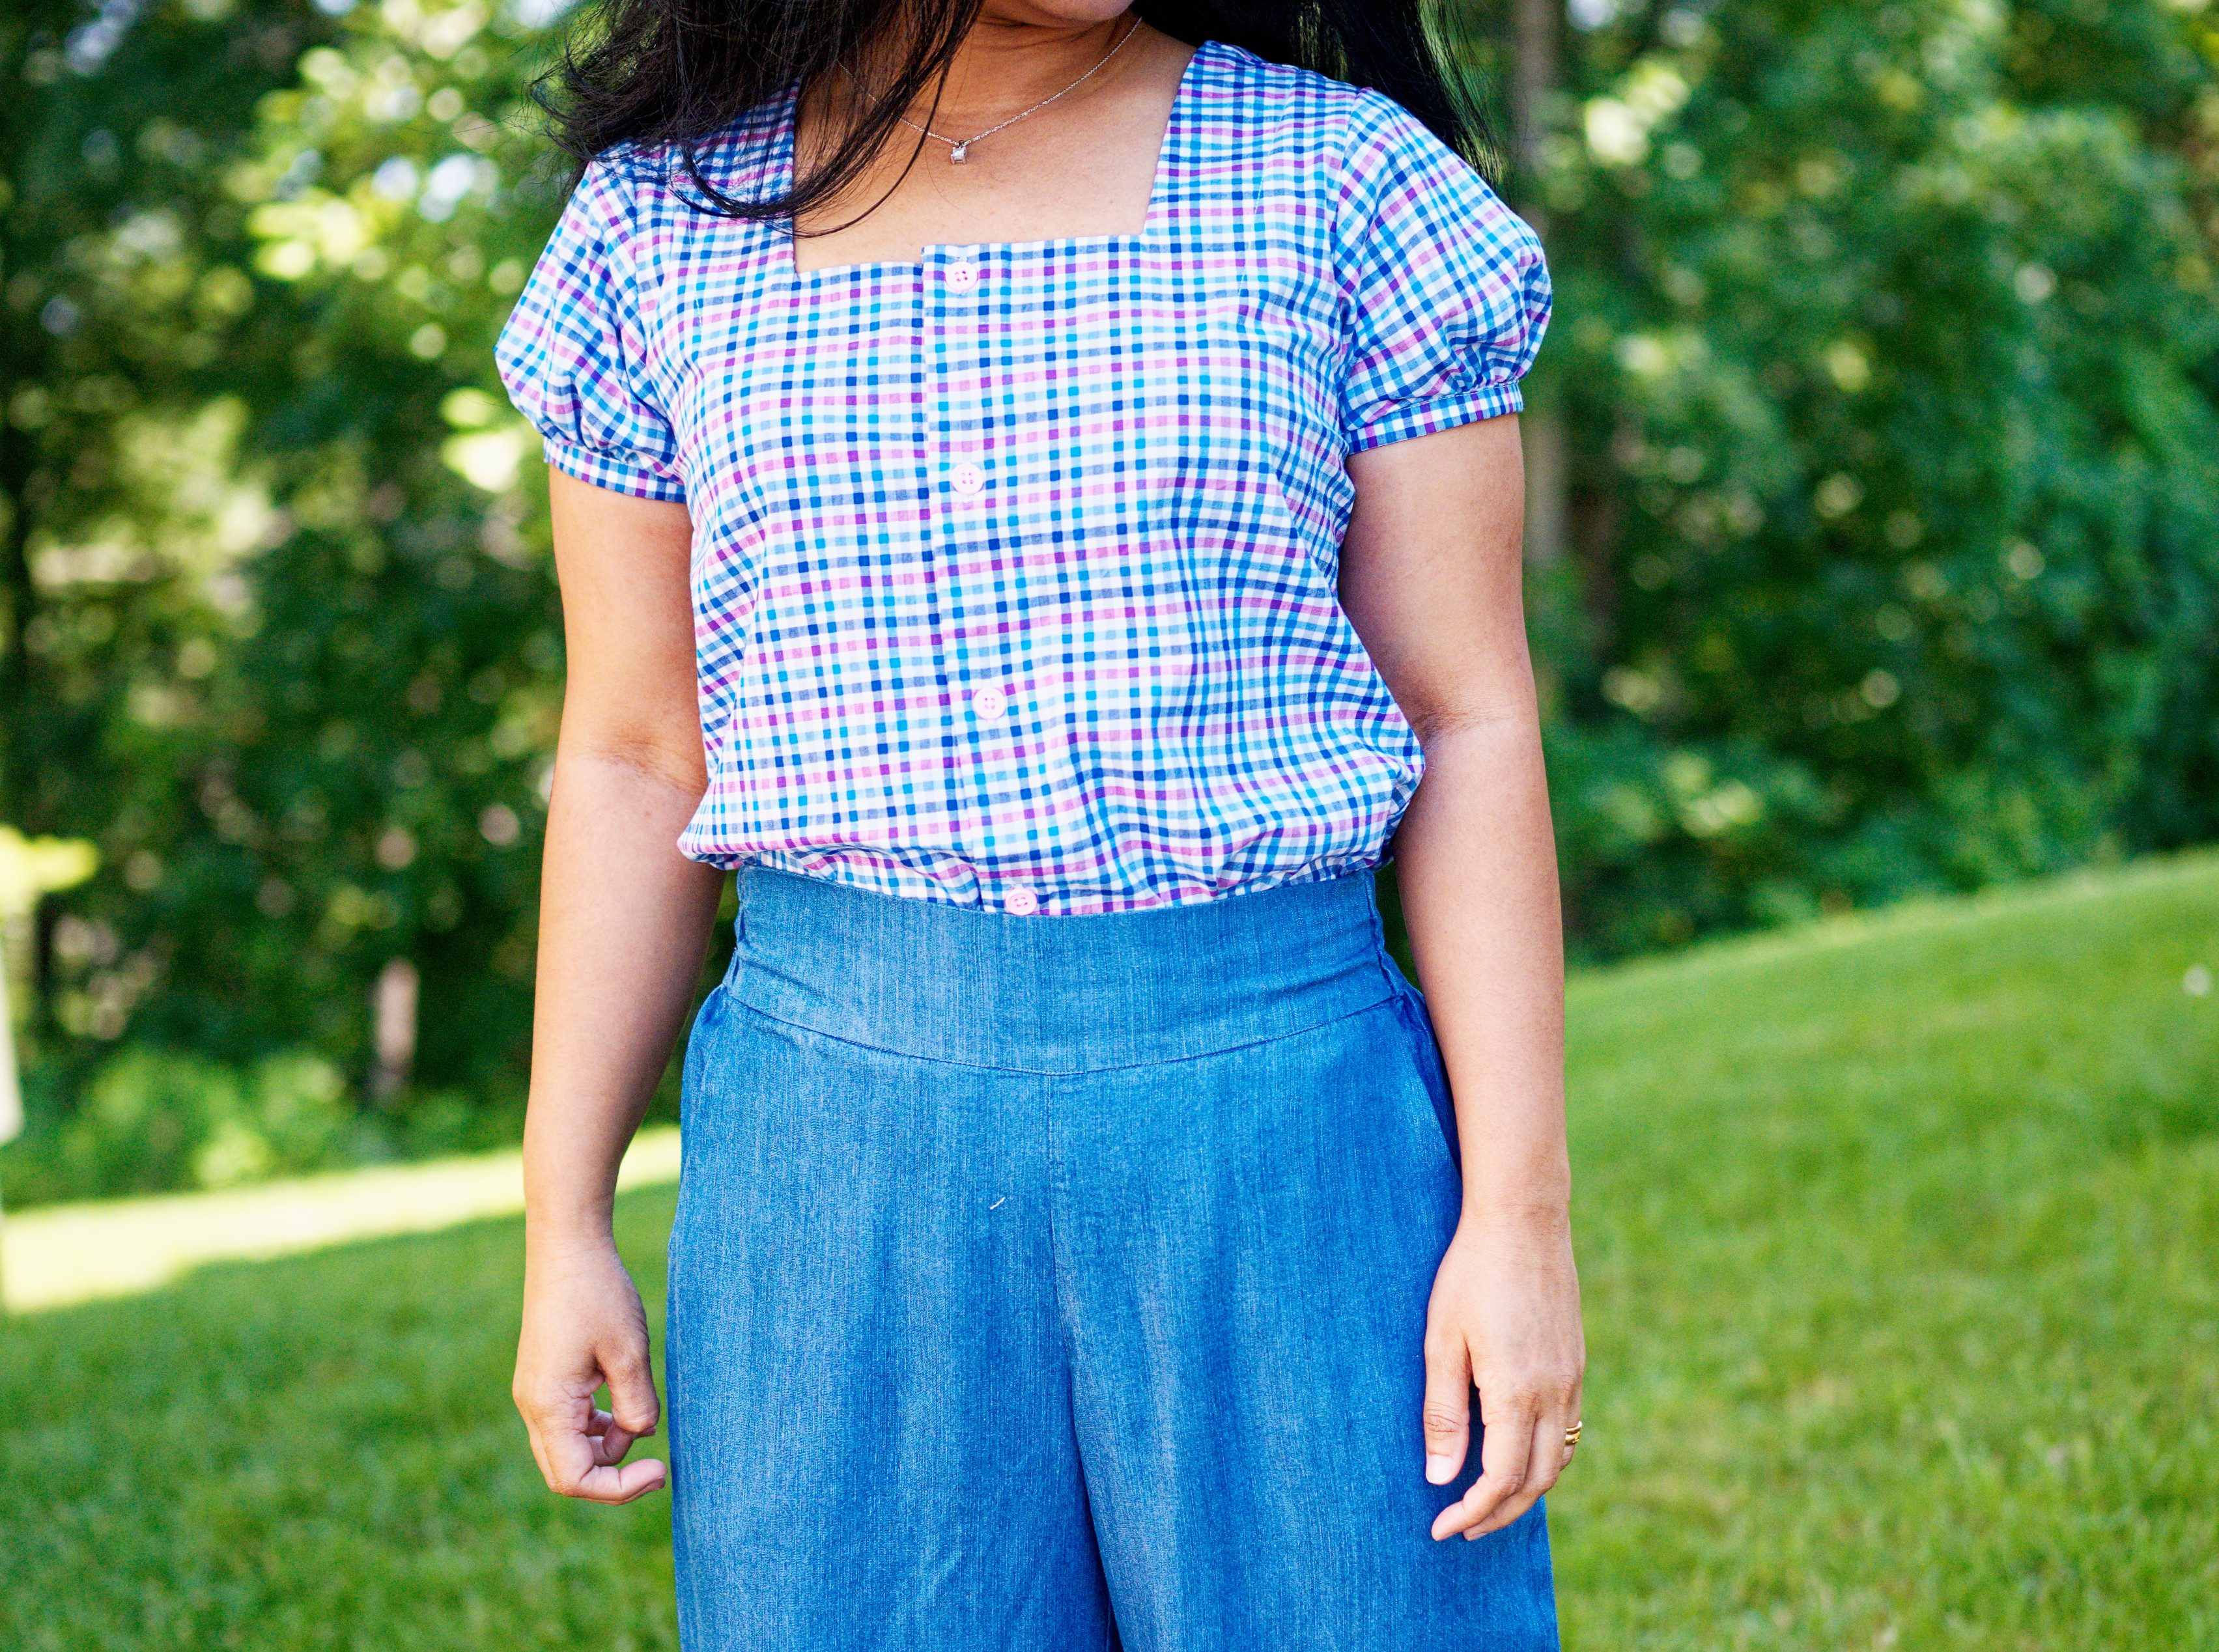
For this checked shirt, I used the Lucerne Blouse pattern to hack it into a square necked button up blouse with puff sleeves. It’s a really simple hack but here are the steps I followed in case you want to replicate it!
First we’ll trace the front (with the scoop neck option) and back pattern pieces onto a piece of paper, then we’ll alter the neckline and neckline facing. Since the square shape makes the neckline wider, I raised the scoop neckline by 1”. For that, mark a point 1” up from the center front and then drew a perpendicular line 3” long from that point towards the sleeve. connect this line to the shoulder point making sure you true the edges. I altered the back neckline this time dropping the neckline by 1” and then repeating the same steps to get a square neckline in the back as well. For the facings, draw the new square necklines onto a different piece of paper and add 2.5” (or however wide you want your facing to be) width on all sides. Or you could simply use the neckline of another pattern you already own.
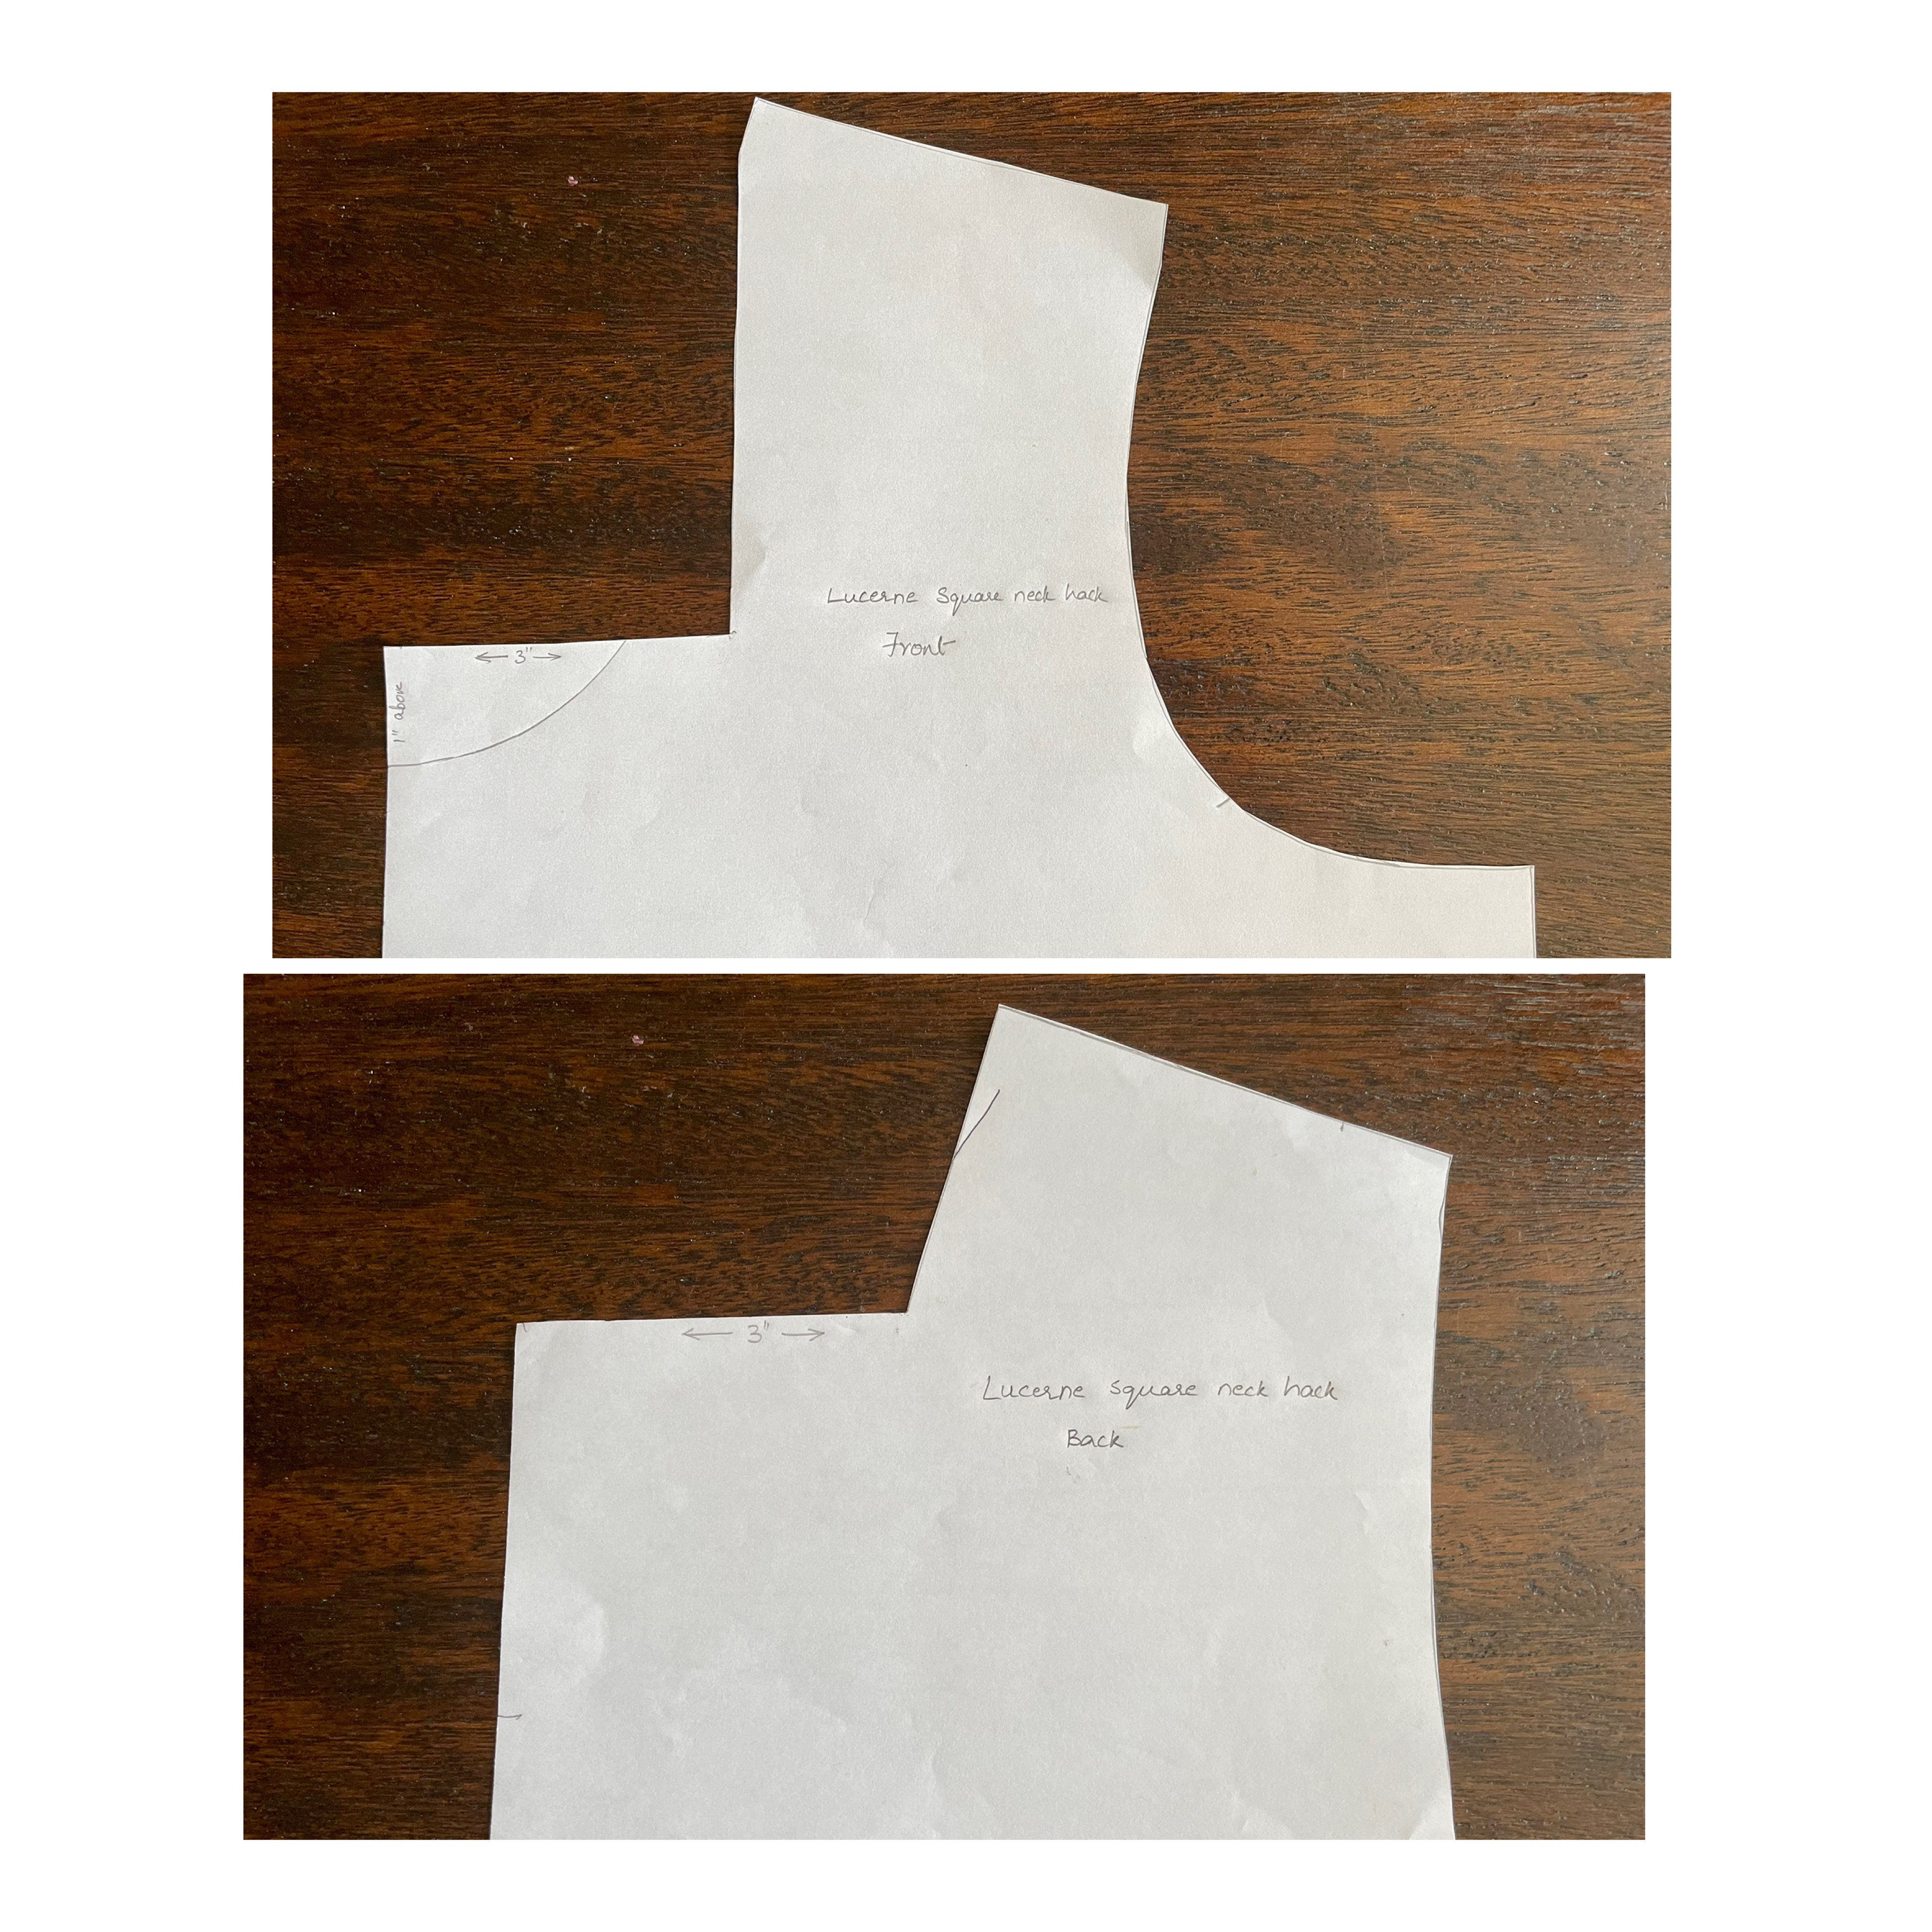
Instead of cutting the front on fold, we’ll be cutting two fronts. Place the center front edge (where it says to cut on fold) exactly in the center of the placket and cut two mirror images from both shirt fronts. Position the neckline in such a way that there’s about 1/2” seam allowance above the first button to be able finish the neckline with the facing. Proceed to cut the back on fold after folding the shirt back right sides together.
The Lucerne blouse comes with two sleeve options but it’s also compatible with the sleeves from the key largo and Phoenix blouse patterns. So there’s a wide variety of sleeves to choose from. For the puff sleeves, I followed Teri’s puff sleeve hack from the Hey June blog.
For the shirt construction, follow the instructions in the pattern. The square neckline construction is similar to the round or v neck construction. Interface the facings, and sew the front and back facings right side together. Finish and press the seams open. Turn the outer edges of the facings under by 1/2” and press well. Pin the facing to the neckline right sides together, sew along the neckline. Snip into all corners of the neckline and under stitch the seam allowance to the facing before turning the facing to the inside. Press well and secure the facing by stitching all around the folded edge of the facings.
When the facing is turned under, it will cover the first button hole on the shirt, so I ended up making a buttonhole in the facing as well. You could do that or just sew a button through both the plackets on the shirt if you don’t need the placket to be functional since the Lucerne blouse is designed to go over your head anyway.
Lastly I swapped out the buttons just for fun and because I had the exact shade of pink buttons as the checks on the shirt in my buttons jar.

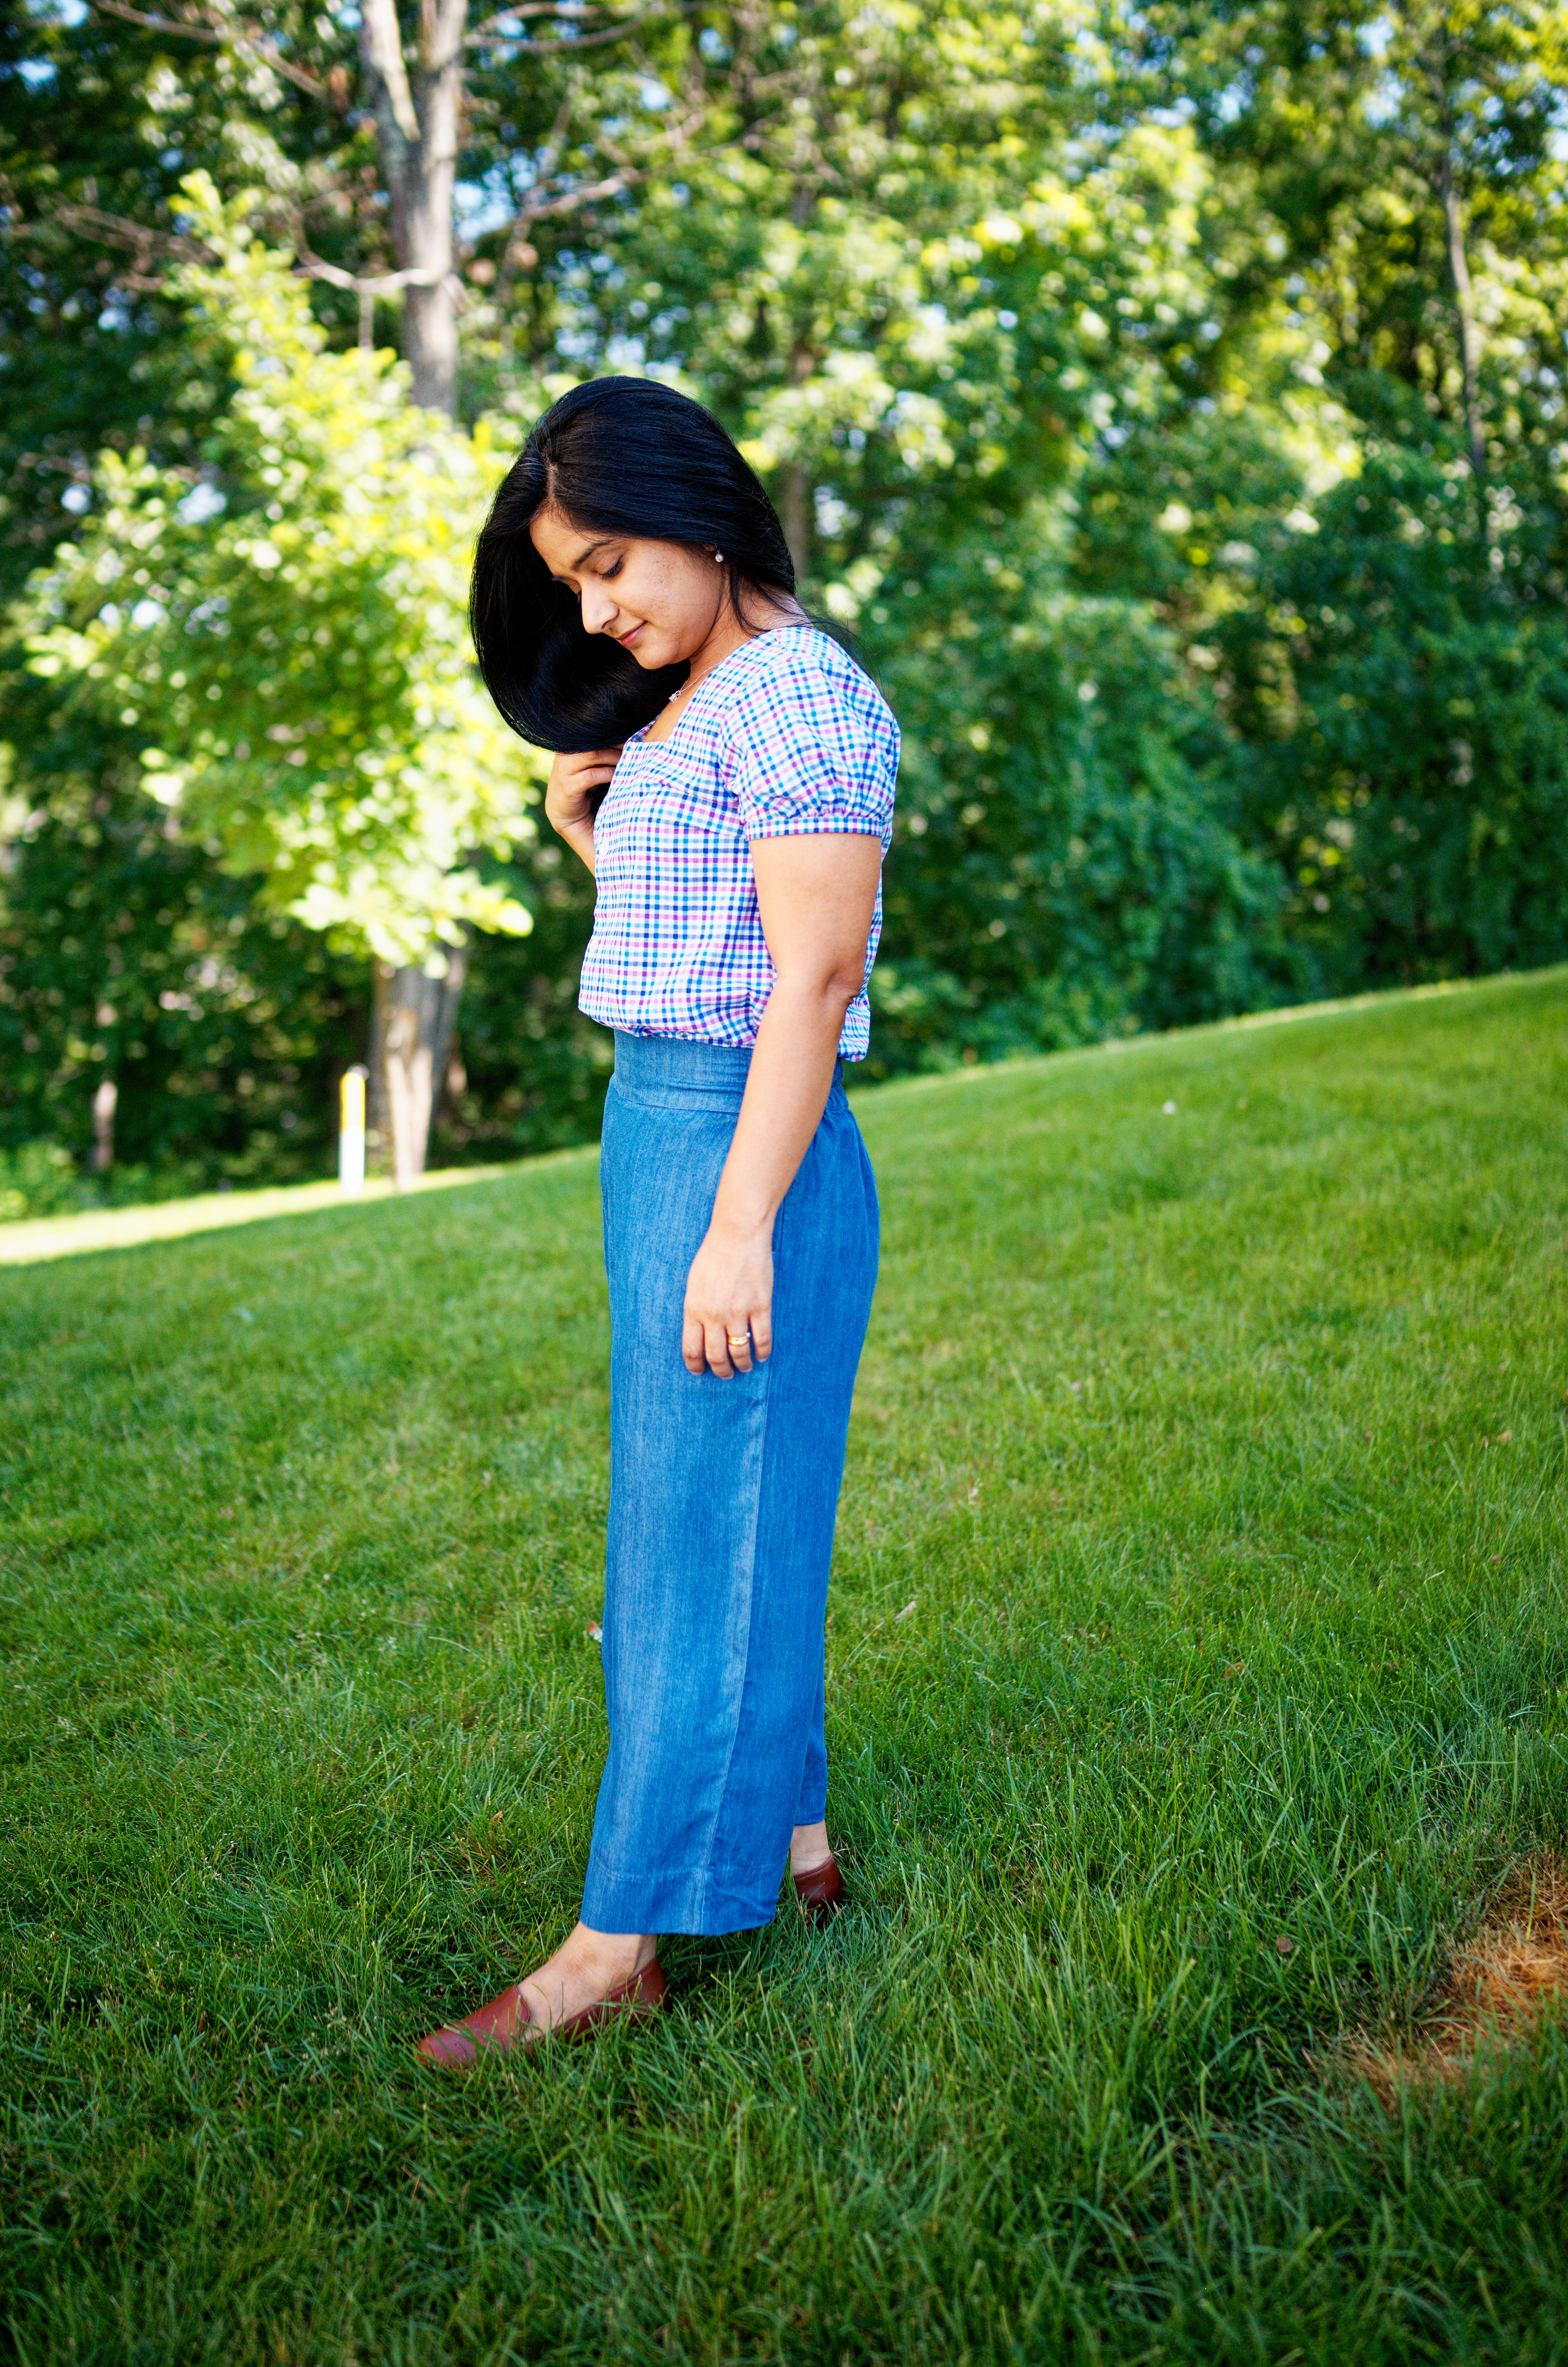
I feel like the tutorial took longer to write than to sew 🙂 but I love how this little refashion turned out and my husband’s shirt is getting a new lease of life in my closet now!
My pants are the Nara pants that I posted about a few weeks ago.
If you have questions or comments regarding this tutorial, please feel free to reach by comments here or ig.
Thank you for stopping by!
-love
Indu
*If you buy the pattern through one of my affiliate links, I get a small percentage of the sale at no additional cost to you. Thank you for considering.

