Although summer is my favorite season, the enthusiasm and desperation with which I look forward to spring is simply unparalleled. It’s like I can feel the shroud of a gloomy winter finally lifting off and the sun coming out, bringing with it so much hope! Spring for me is invigorating and inspiring. I am full of ideas and want to take on a million different projects. I want to buy every new fabric and sew every new pattern, so this year’s stylemaker spring style tour couldn’t have come at a more opportune time. Being able to participate in this tour has brought me so much joy. I love stylemaker fabrics and look forward to their seasonal fabric selections always. Their new spring release fabrics are so beautiful, they reflect everything I have been feeling about spring this year – so much promise!
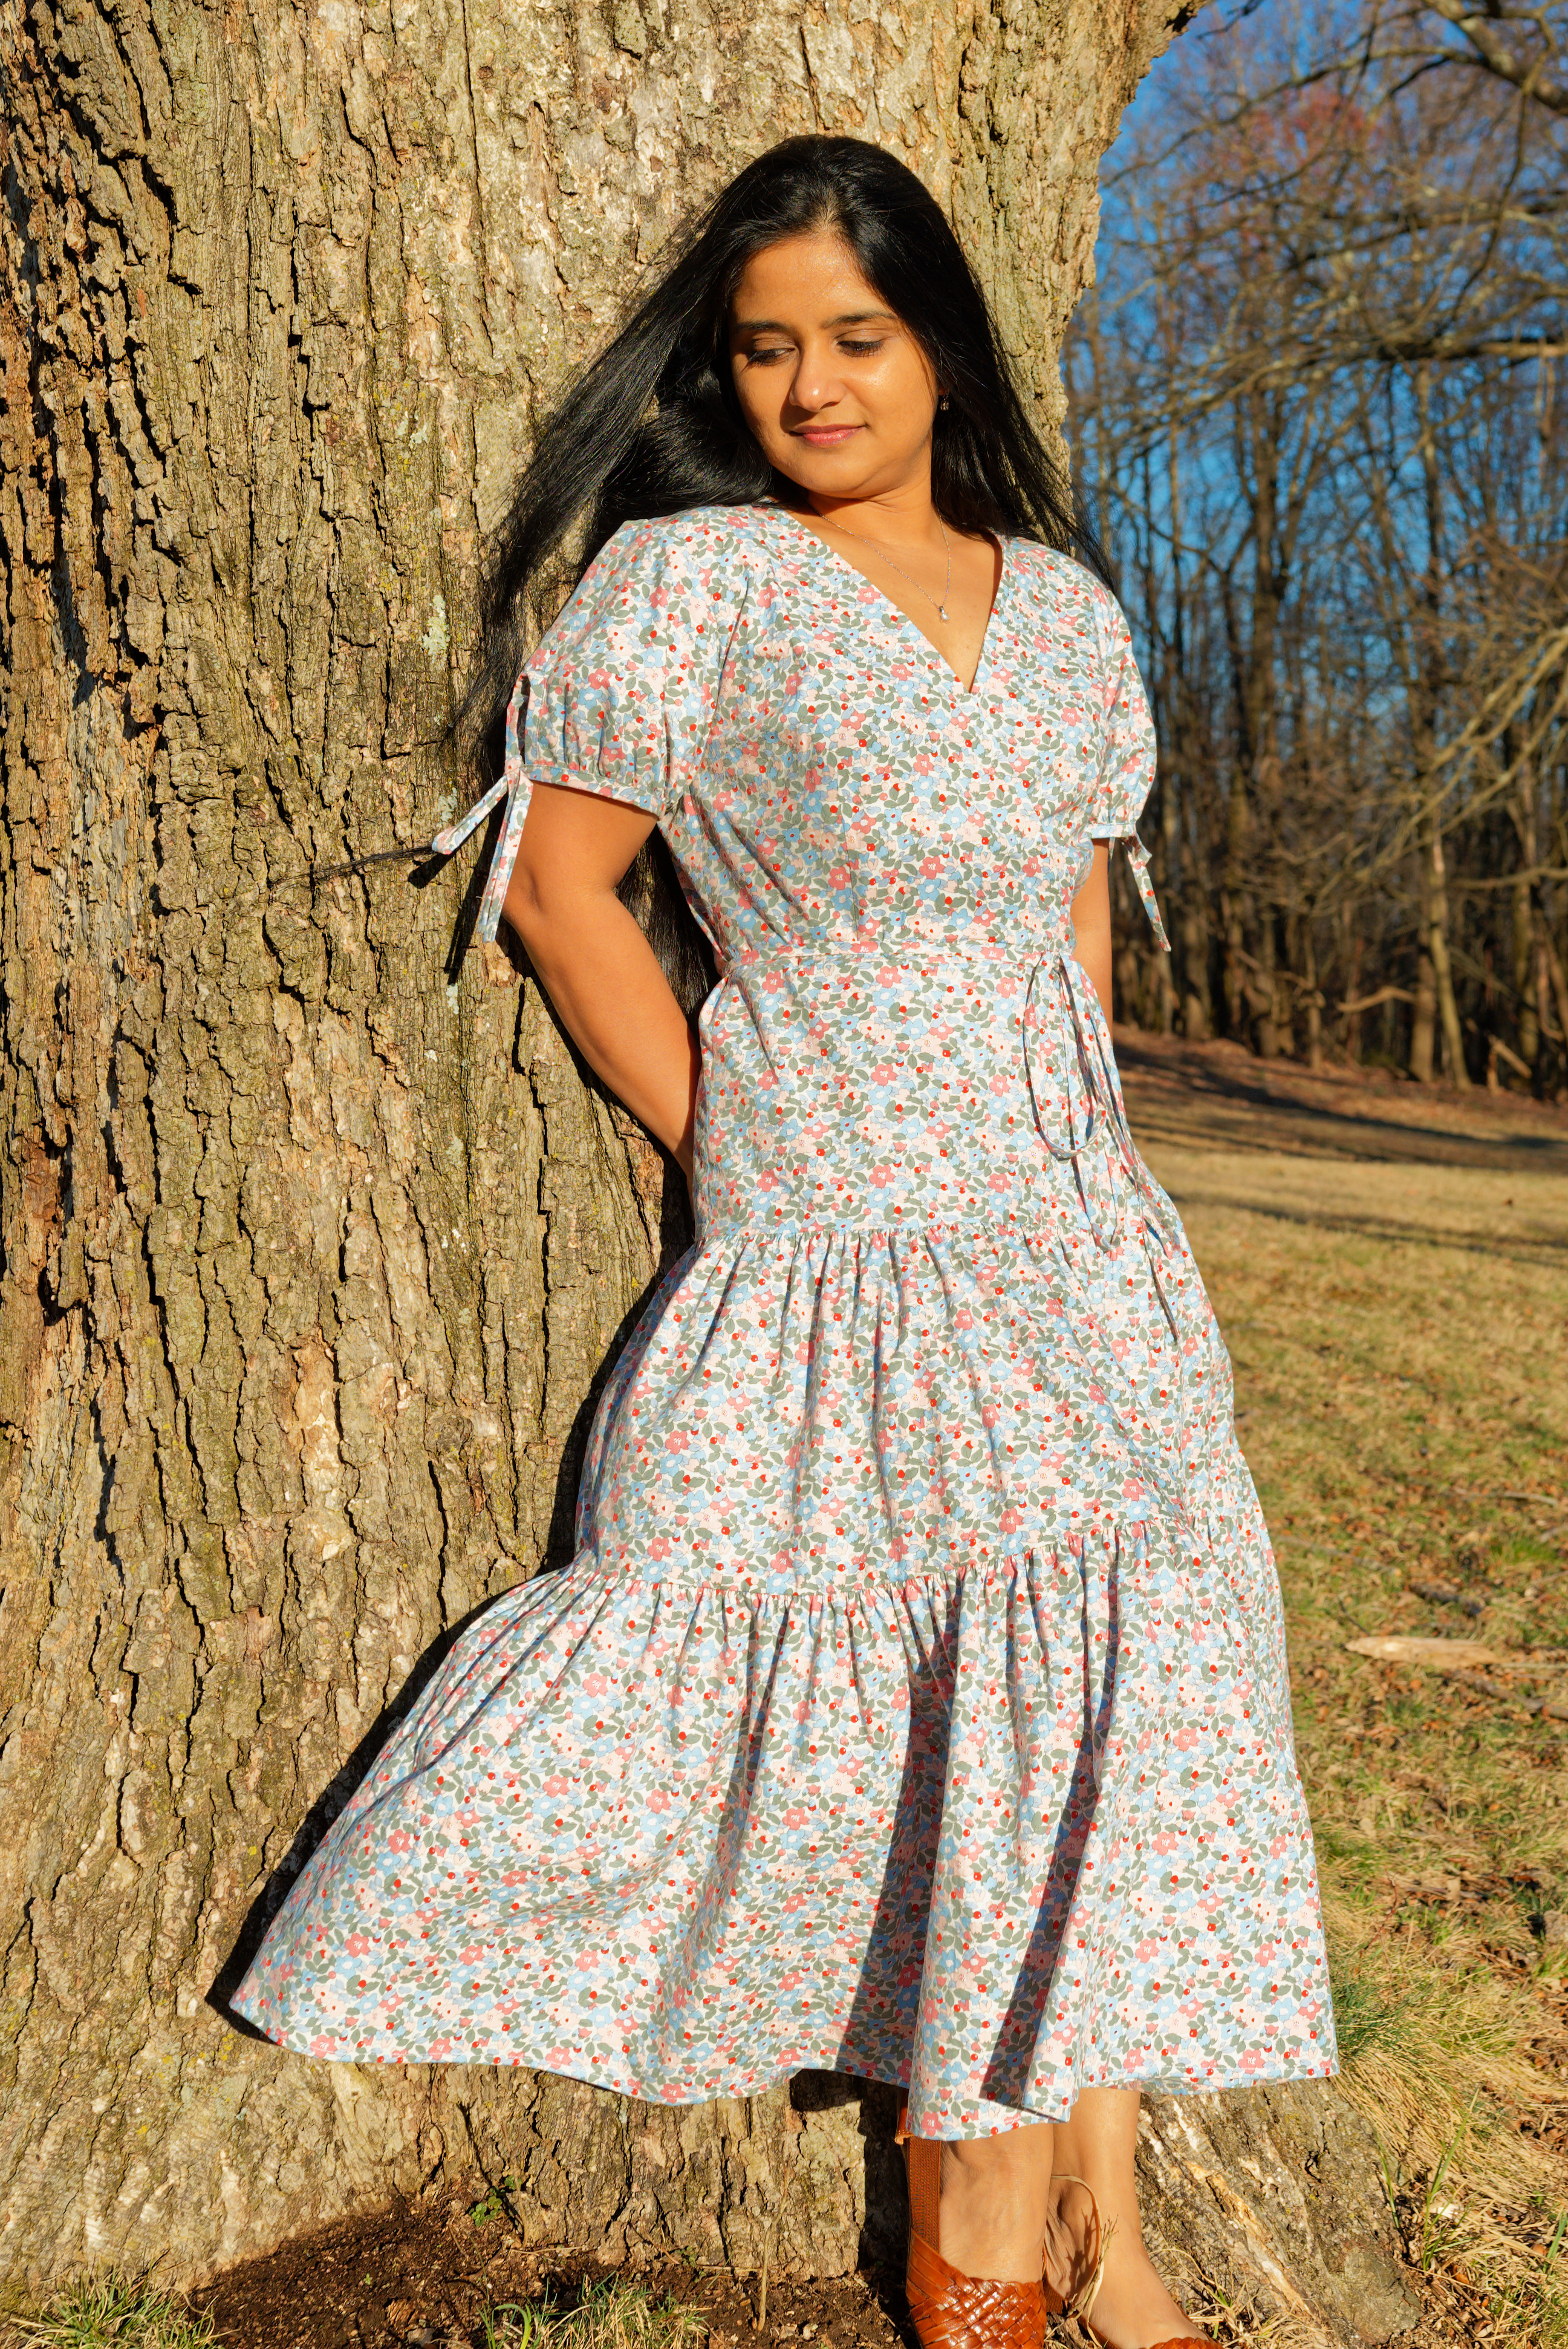
When I saw this year’s collection, I was immediately drawn to their beautiful floral fabrics. I picked this retro floral print cotton poplin for a tiered wrap dress that I’d been dreaming about for a while. I was really blown away by a Christy Dawn dress that I’d seen online and now seemed like a great time to experiment with some pattern hacking and bring that inspiration to life. The pretty floral in muted blue and blush colors was just perfect for what I had in mind.

Before I tell you about my dress, can I tell you how obsessed I am with it?! It turned out exactly as I hoped it would and I am so happy to be sharing all the details with you today!
I started with the Madrid dress by Coffee and thread patterns which has a faux wrap bodice and a tiered skirt and altered the construction slightly to convert it into a true wrap dress.
For the bodice: This is a wonderful pattern with lots of darts in the bodice (8 to be precise) so you have a really great fitting bodice. I’ve made this pattern before so I did all of my usual adjustments like small bust adjustment, shortening the bodice as well as moving the darts. The only change I made to the bodice was eliminating the facings and side zipper and finishing the fronts of the wrap neckline with French binding. So instead of wrapping the front bodices over each other and stitching them together, they’re finished separately.
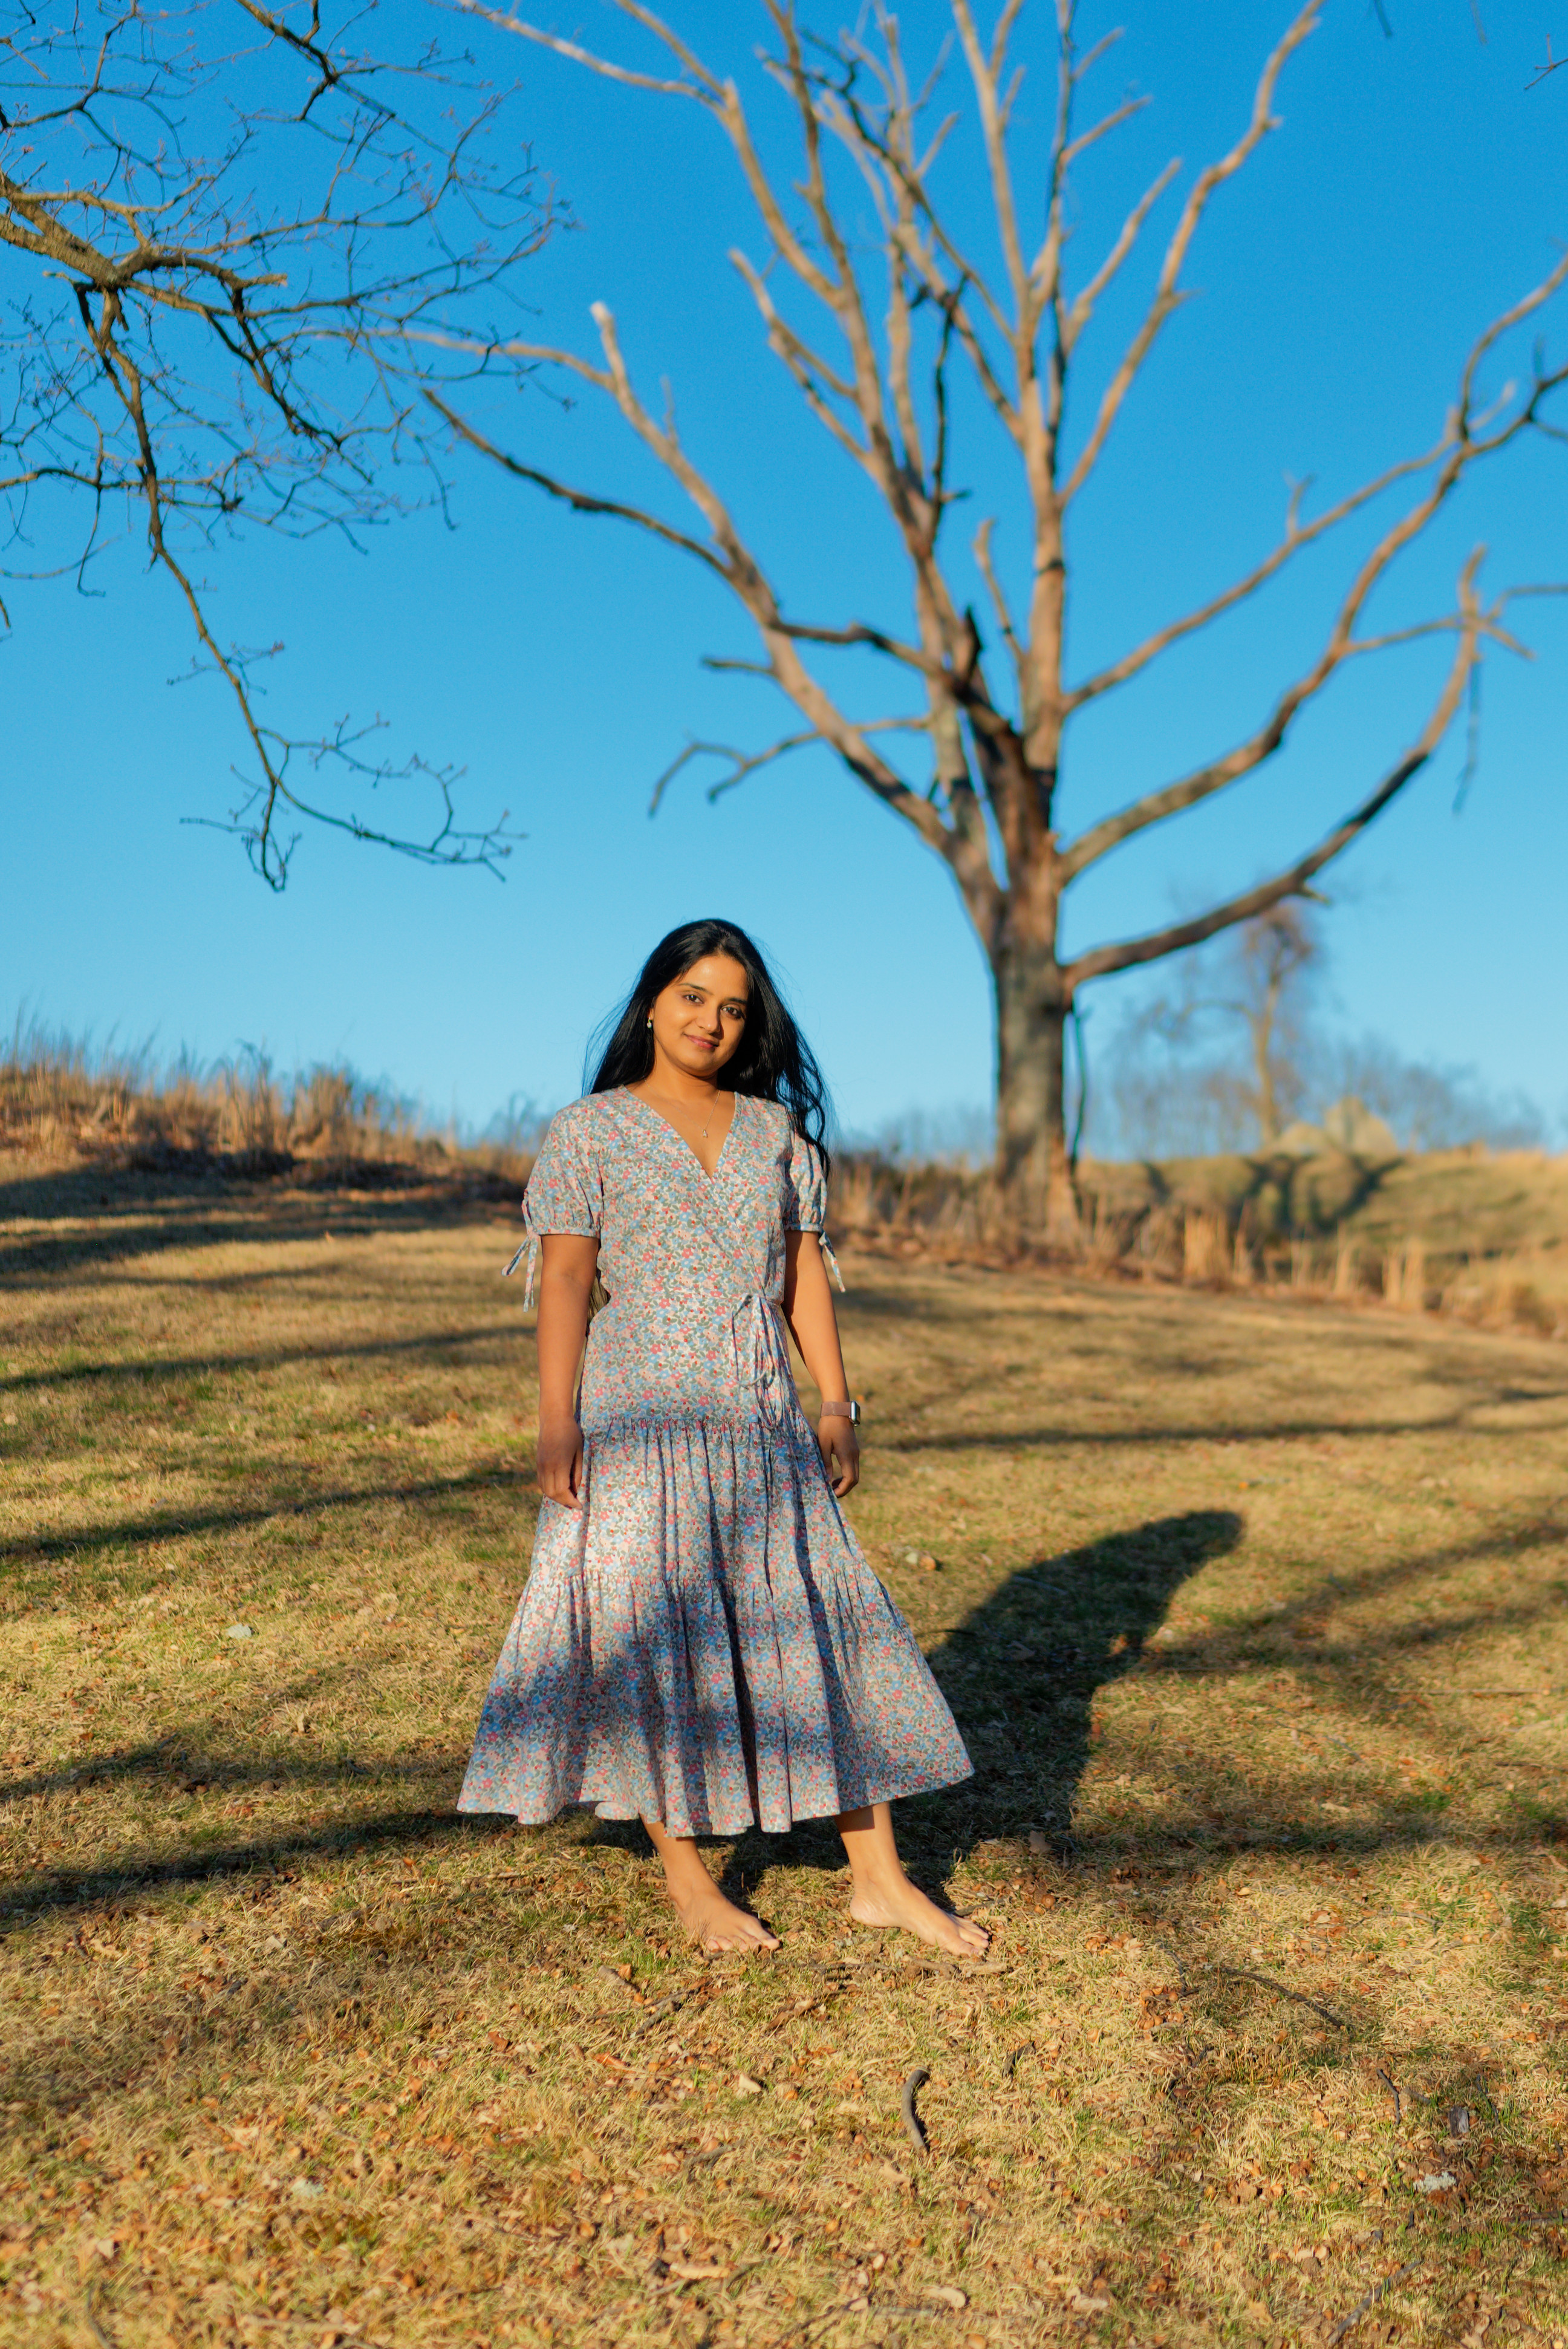
For the skirt: I altered the length of each of the tiers progressively so the first one is about 7.5” tall, the second tier about 10” and the third tier about 15”. I am 5’ tall so if you’re taller than me, you’ll likely have to add at least another 1” in length to each tier.
I also increased the gathers of each tier in the same way so the first tier has no gathers, the second tier is 1.5 times as wide as the first tier and the third tier is twice as wide as the second tier.
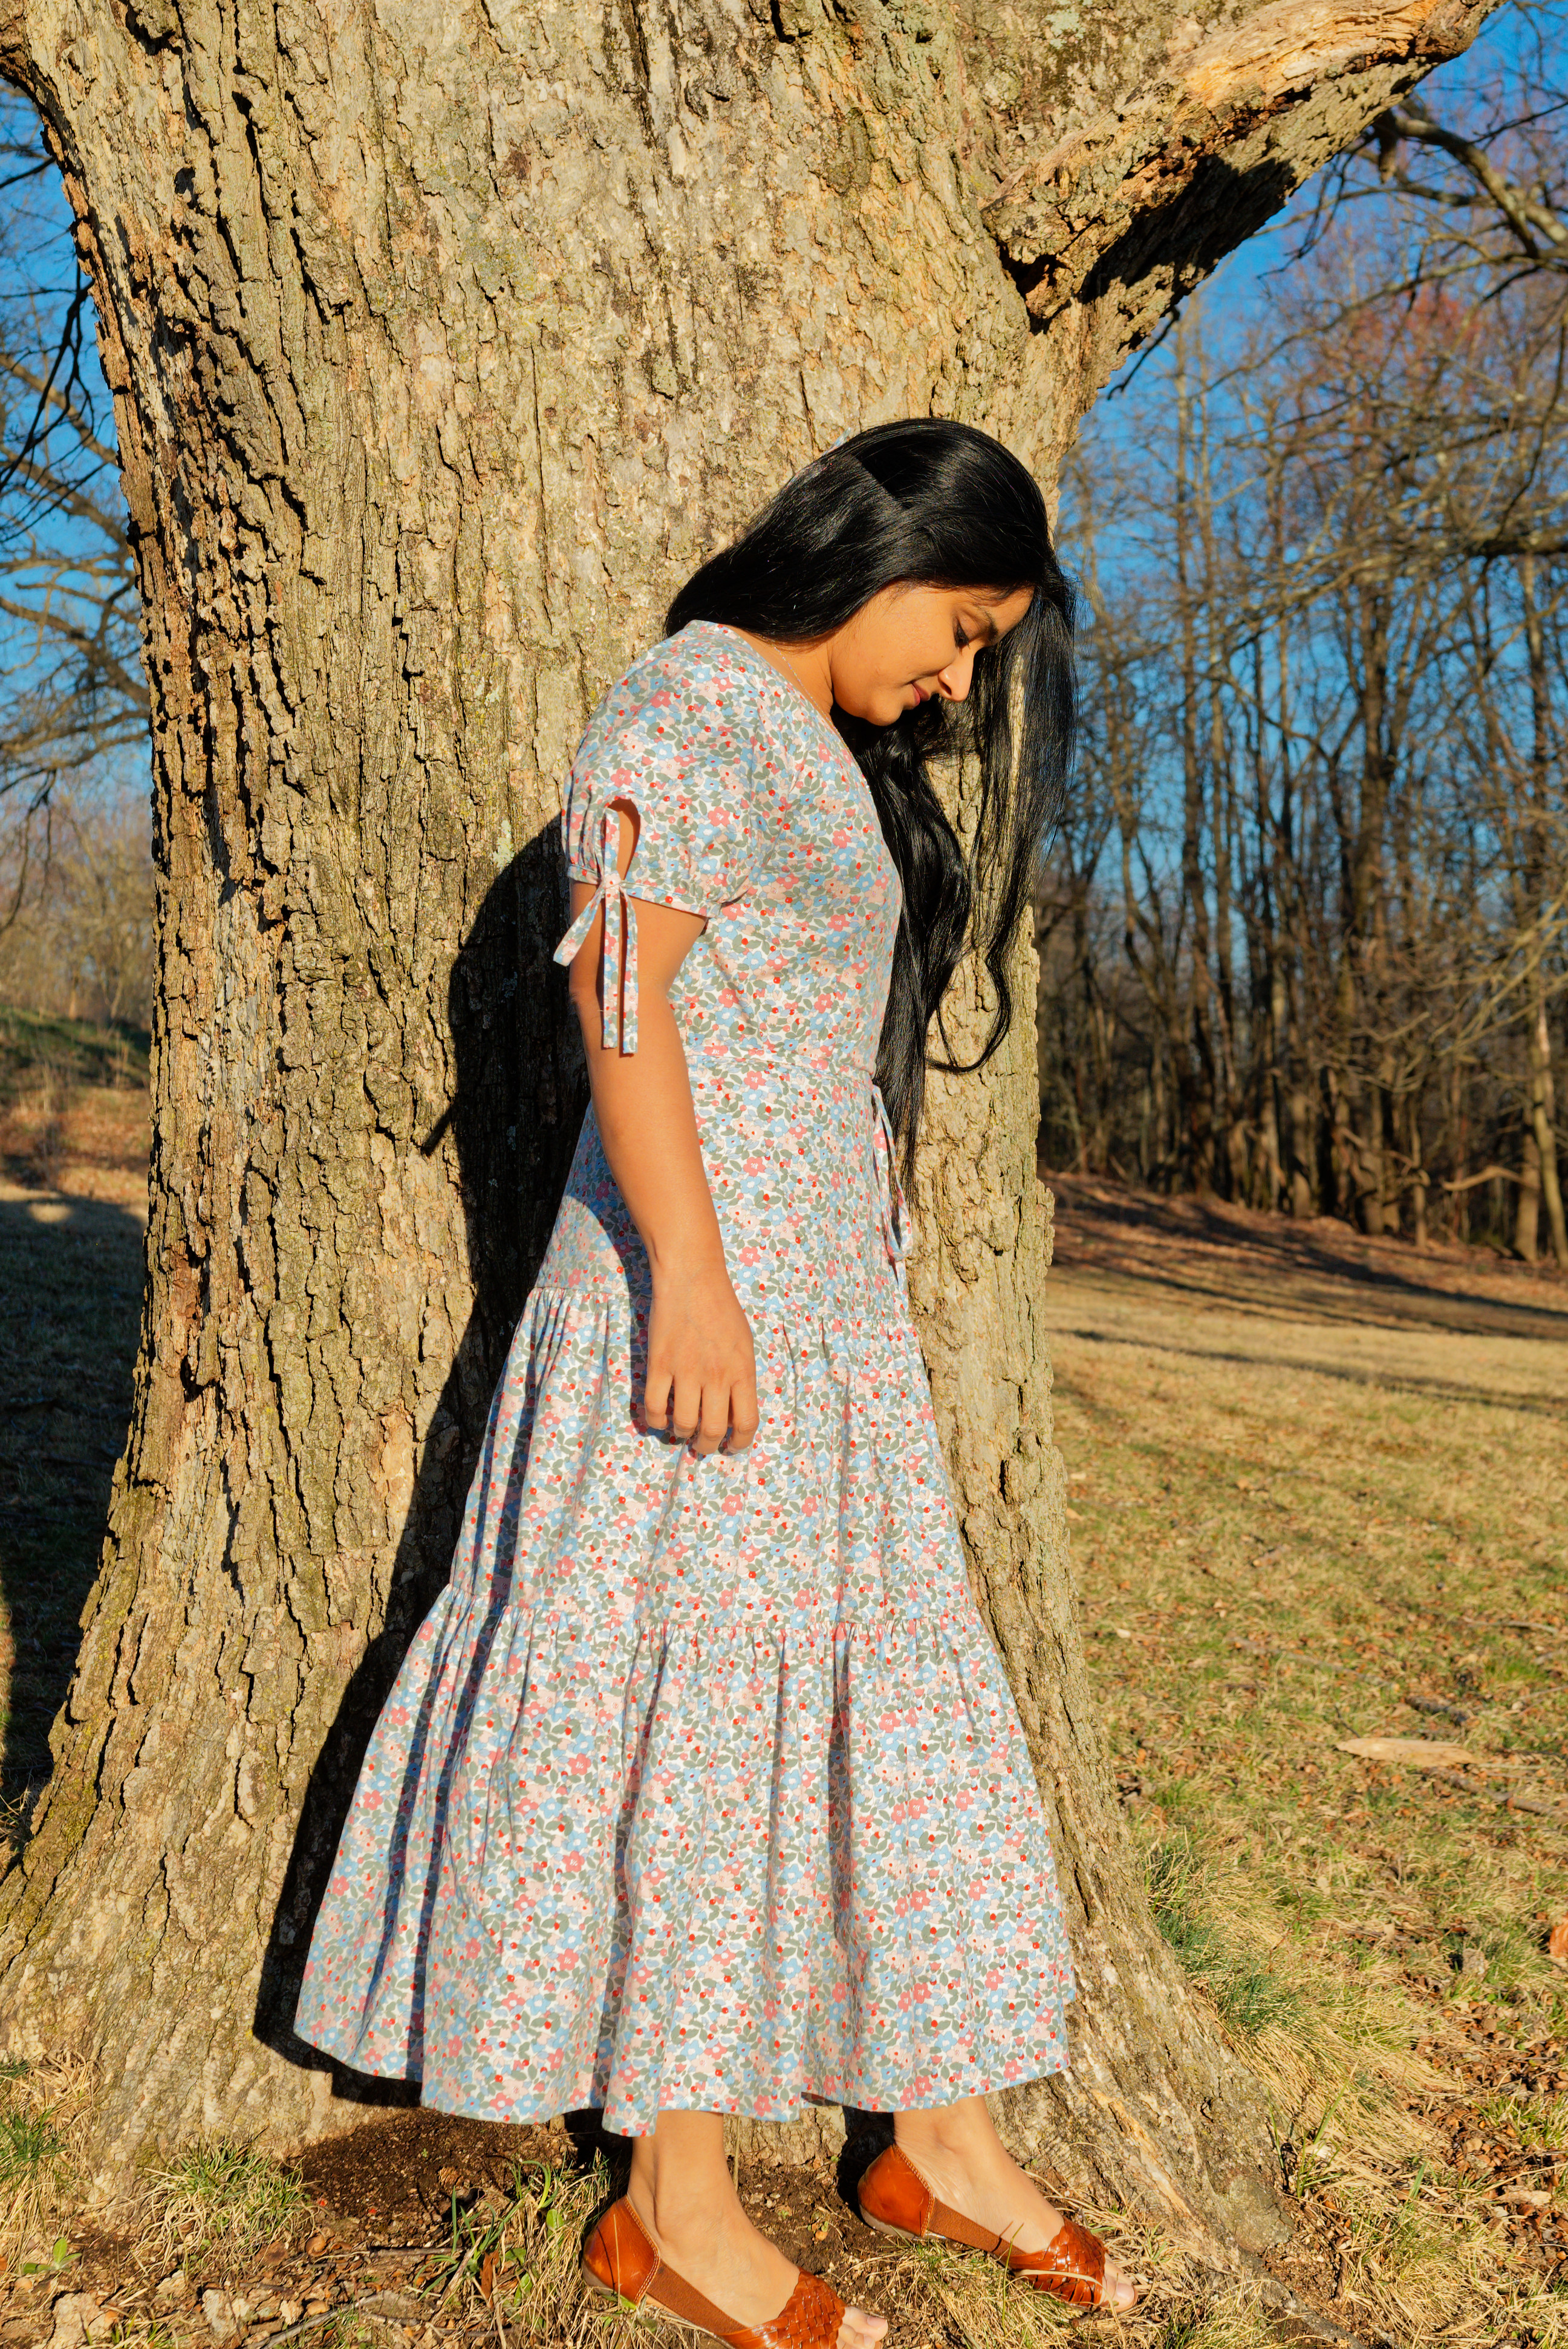
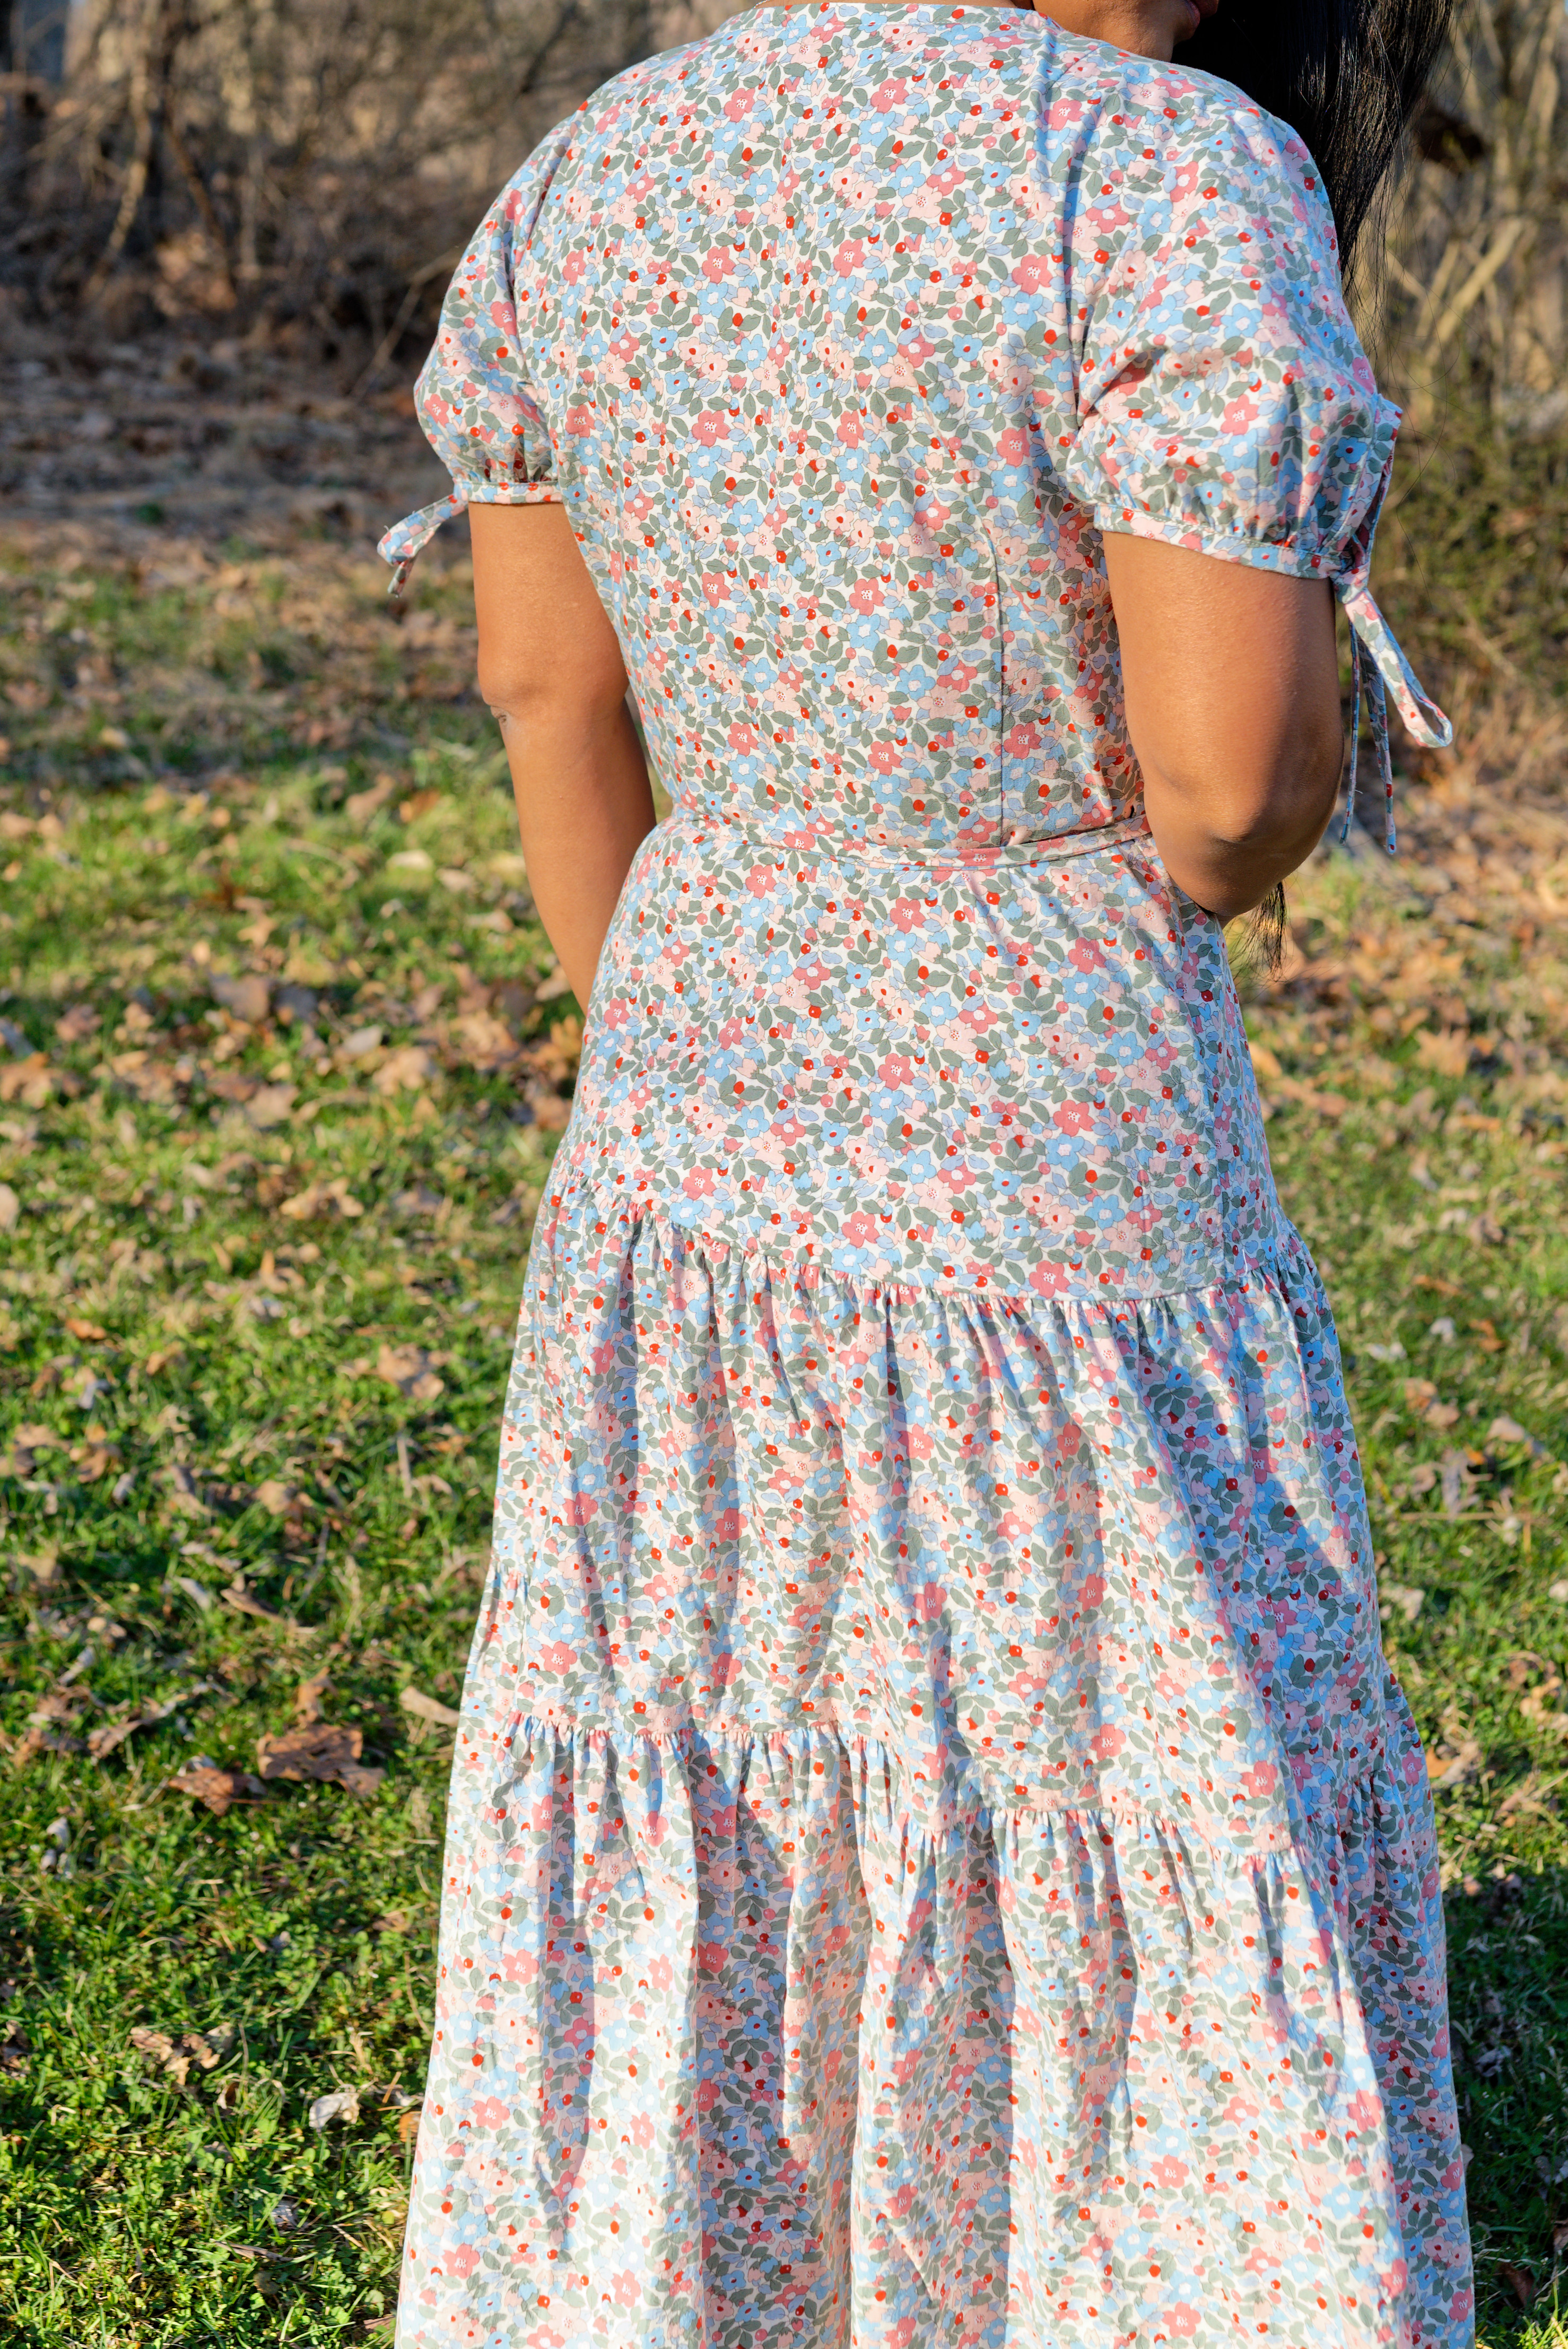
The one detail that drew me to this particular design is the flat waist seam line without any gathers or bulk making it look almost like a drop-waist dress. So to do that, I removed the gathers from the first tier keeping the A-line shape of the skirt (to allow some ease at the hips). The subsequent tiers are just gathered rectangles that are attached to the back bodice and each of the front bodices separately. I added skinny ties to the edge of both front bodices before finishing the edges by binding. The ties are about 45” long and 1.5” wide that I stitched right sides together with a ⅜ seam allowance, trimmed and then turned right side out.

The neckline and the skirt fronts are finished with one long continuous strip of binding starting from the hem of the skirt going all the way up and around the neckline and all the way down to the hem of the skirt. I used French binding for this step because I find it easier and neater than the traditional double fold method.
While stitching the sides of the wrap dress together, I left about ¾” opening on the right side near the waist and reinforced that opening by sewing around it. This opening is for the tie from the left front bodice to go through.
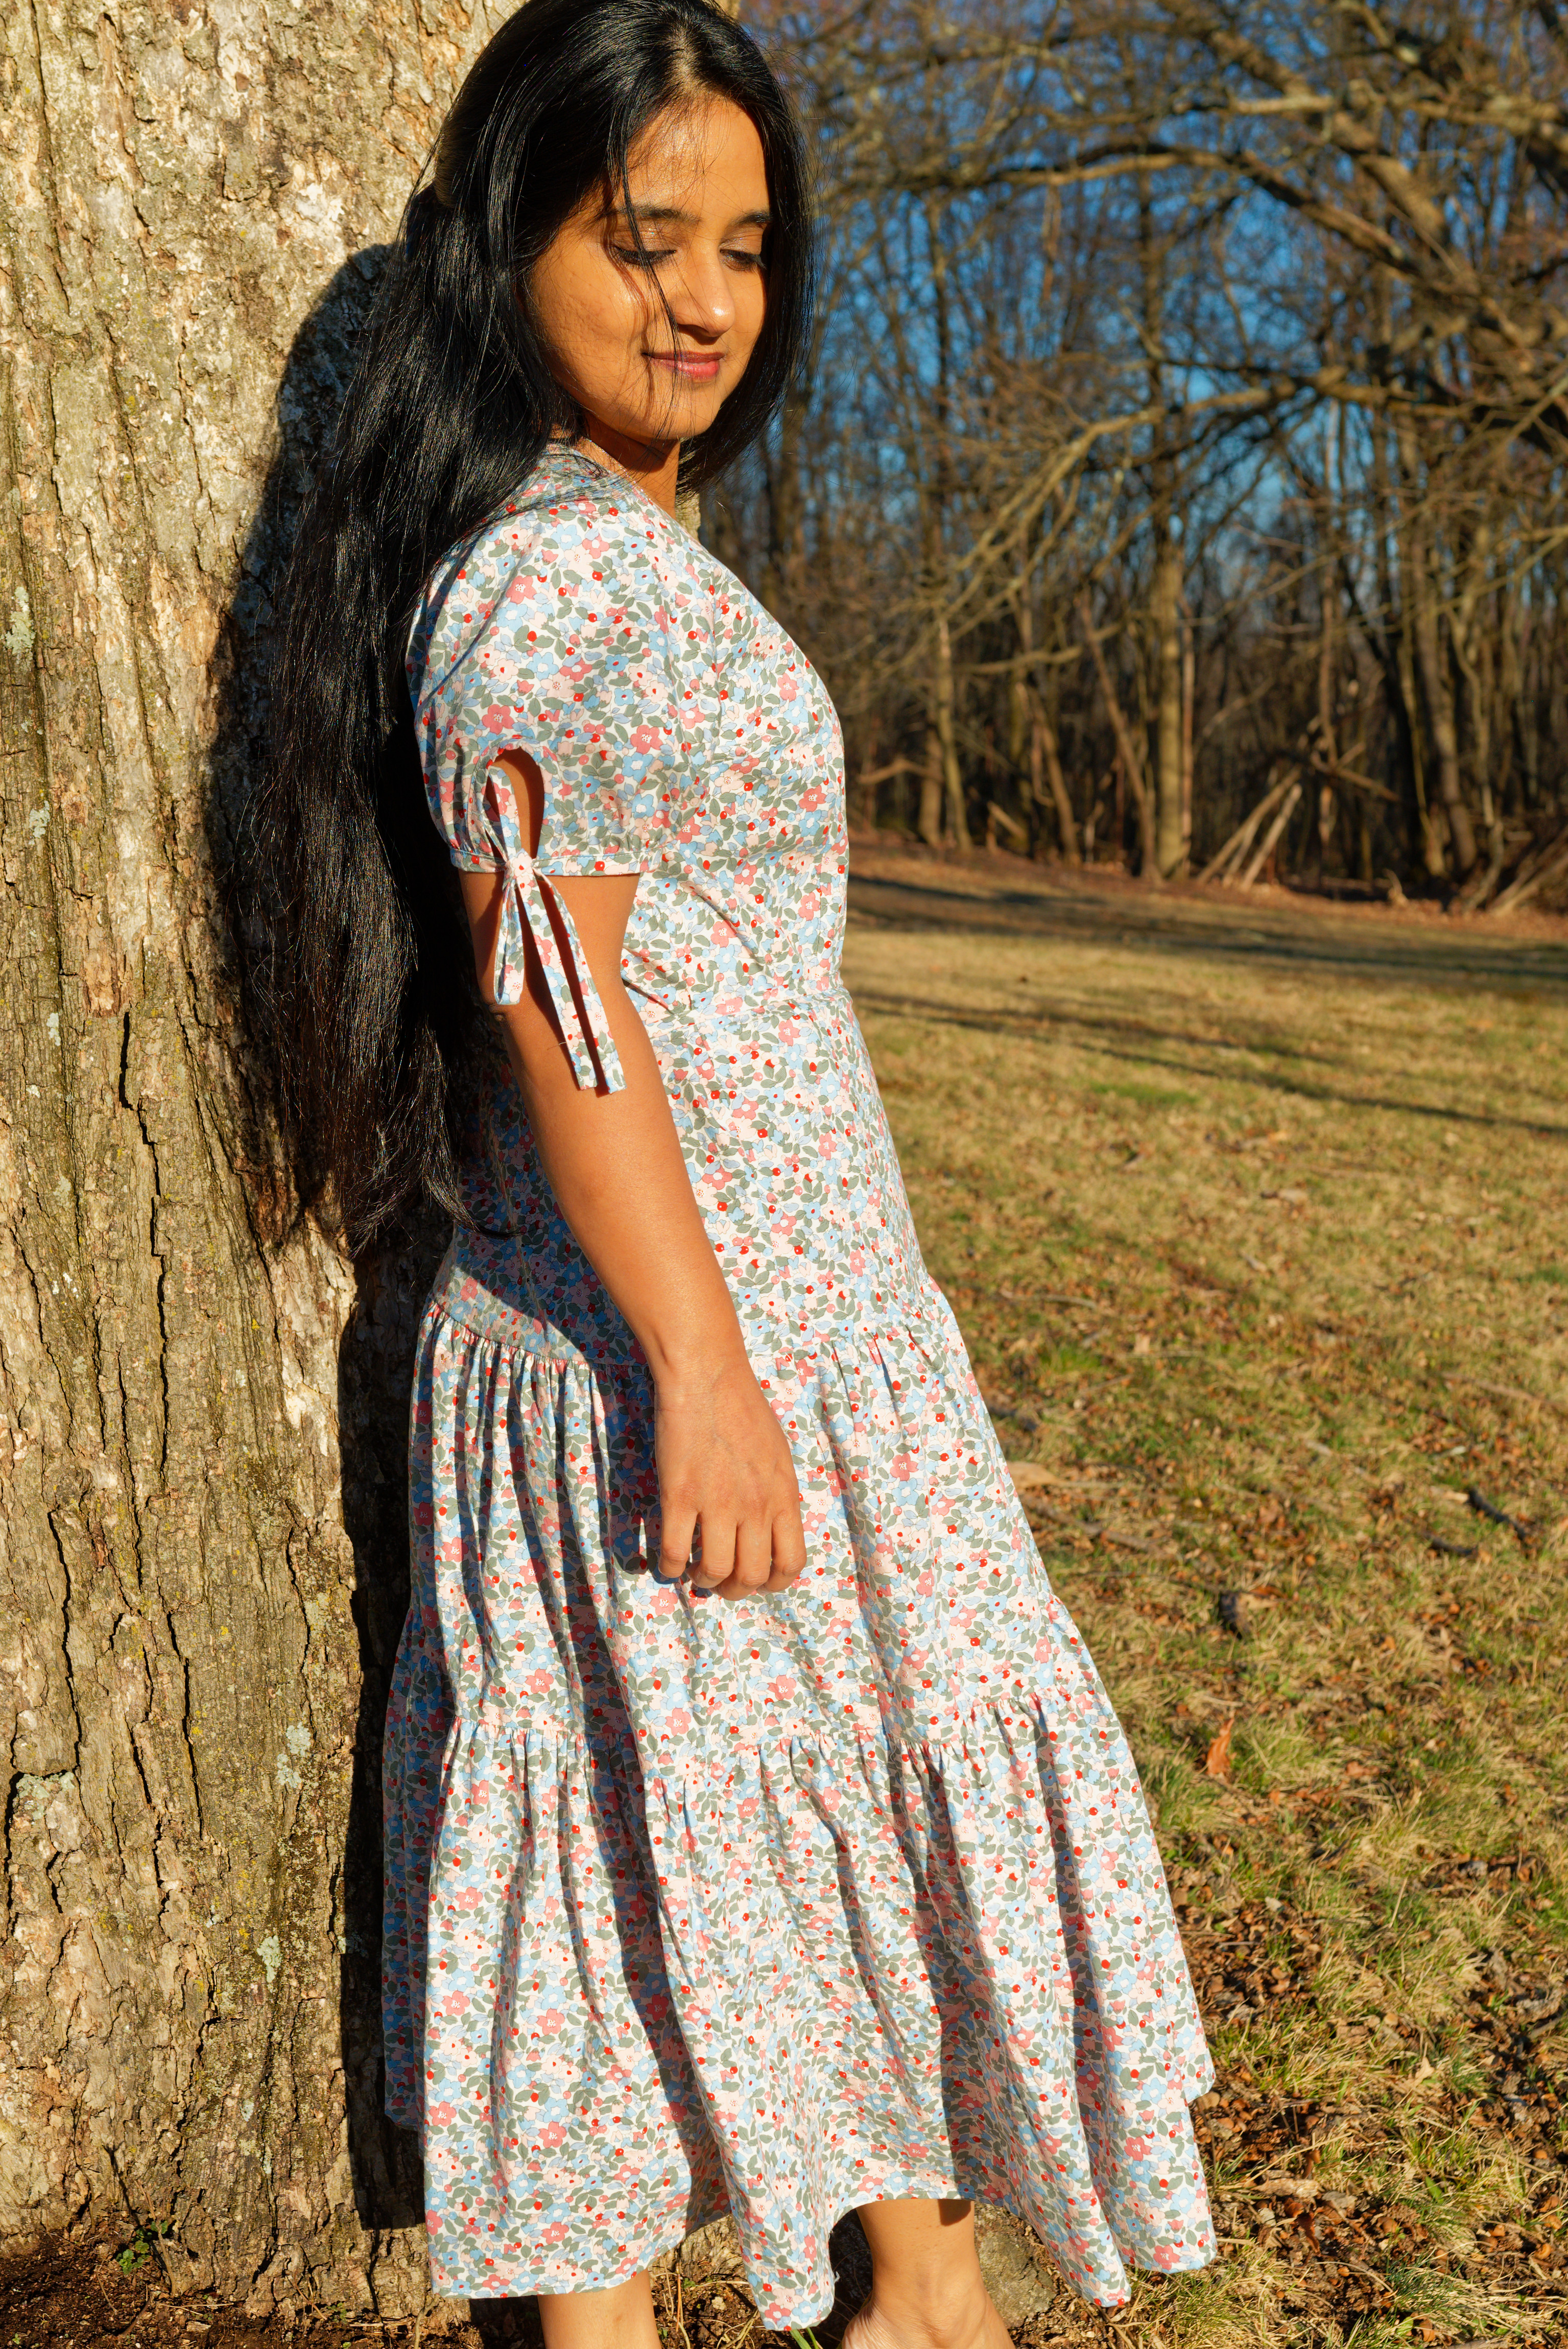
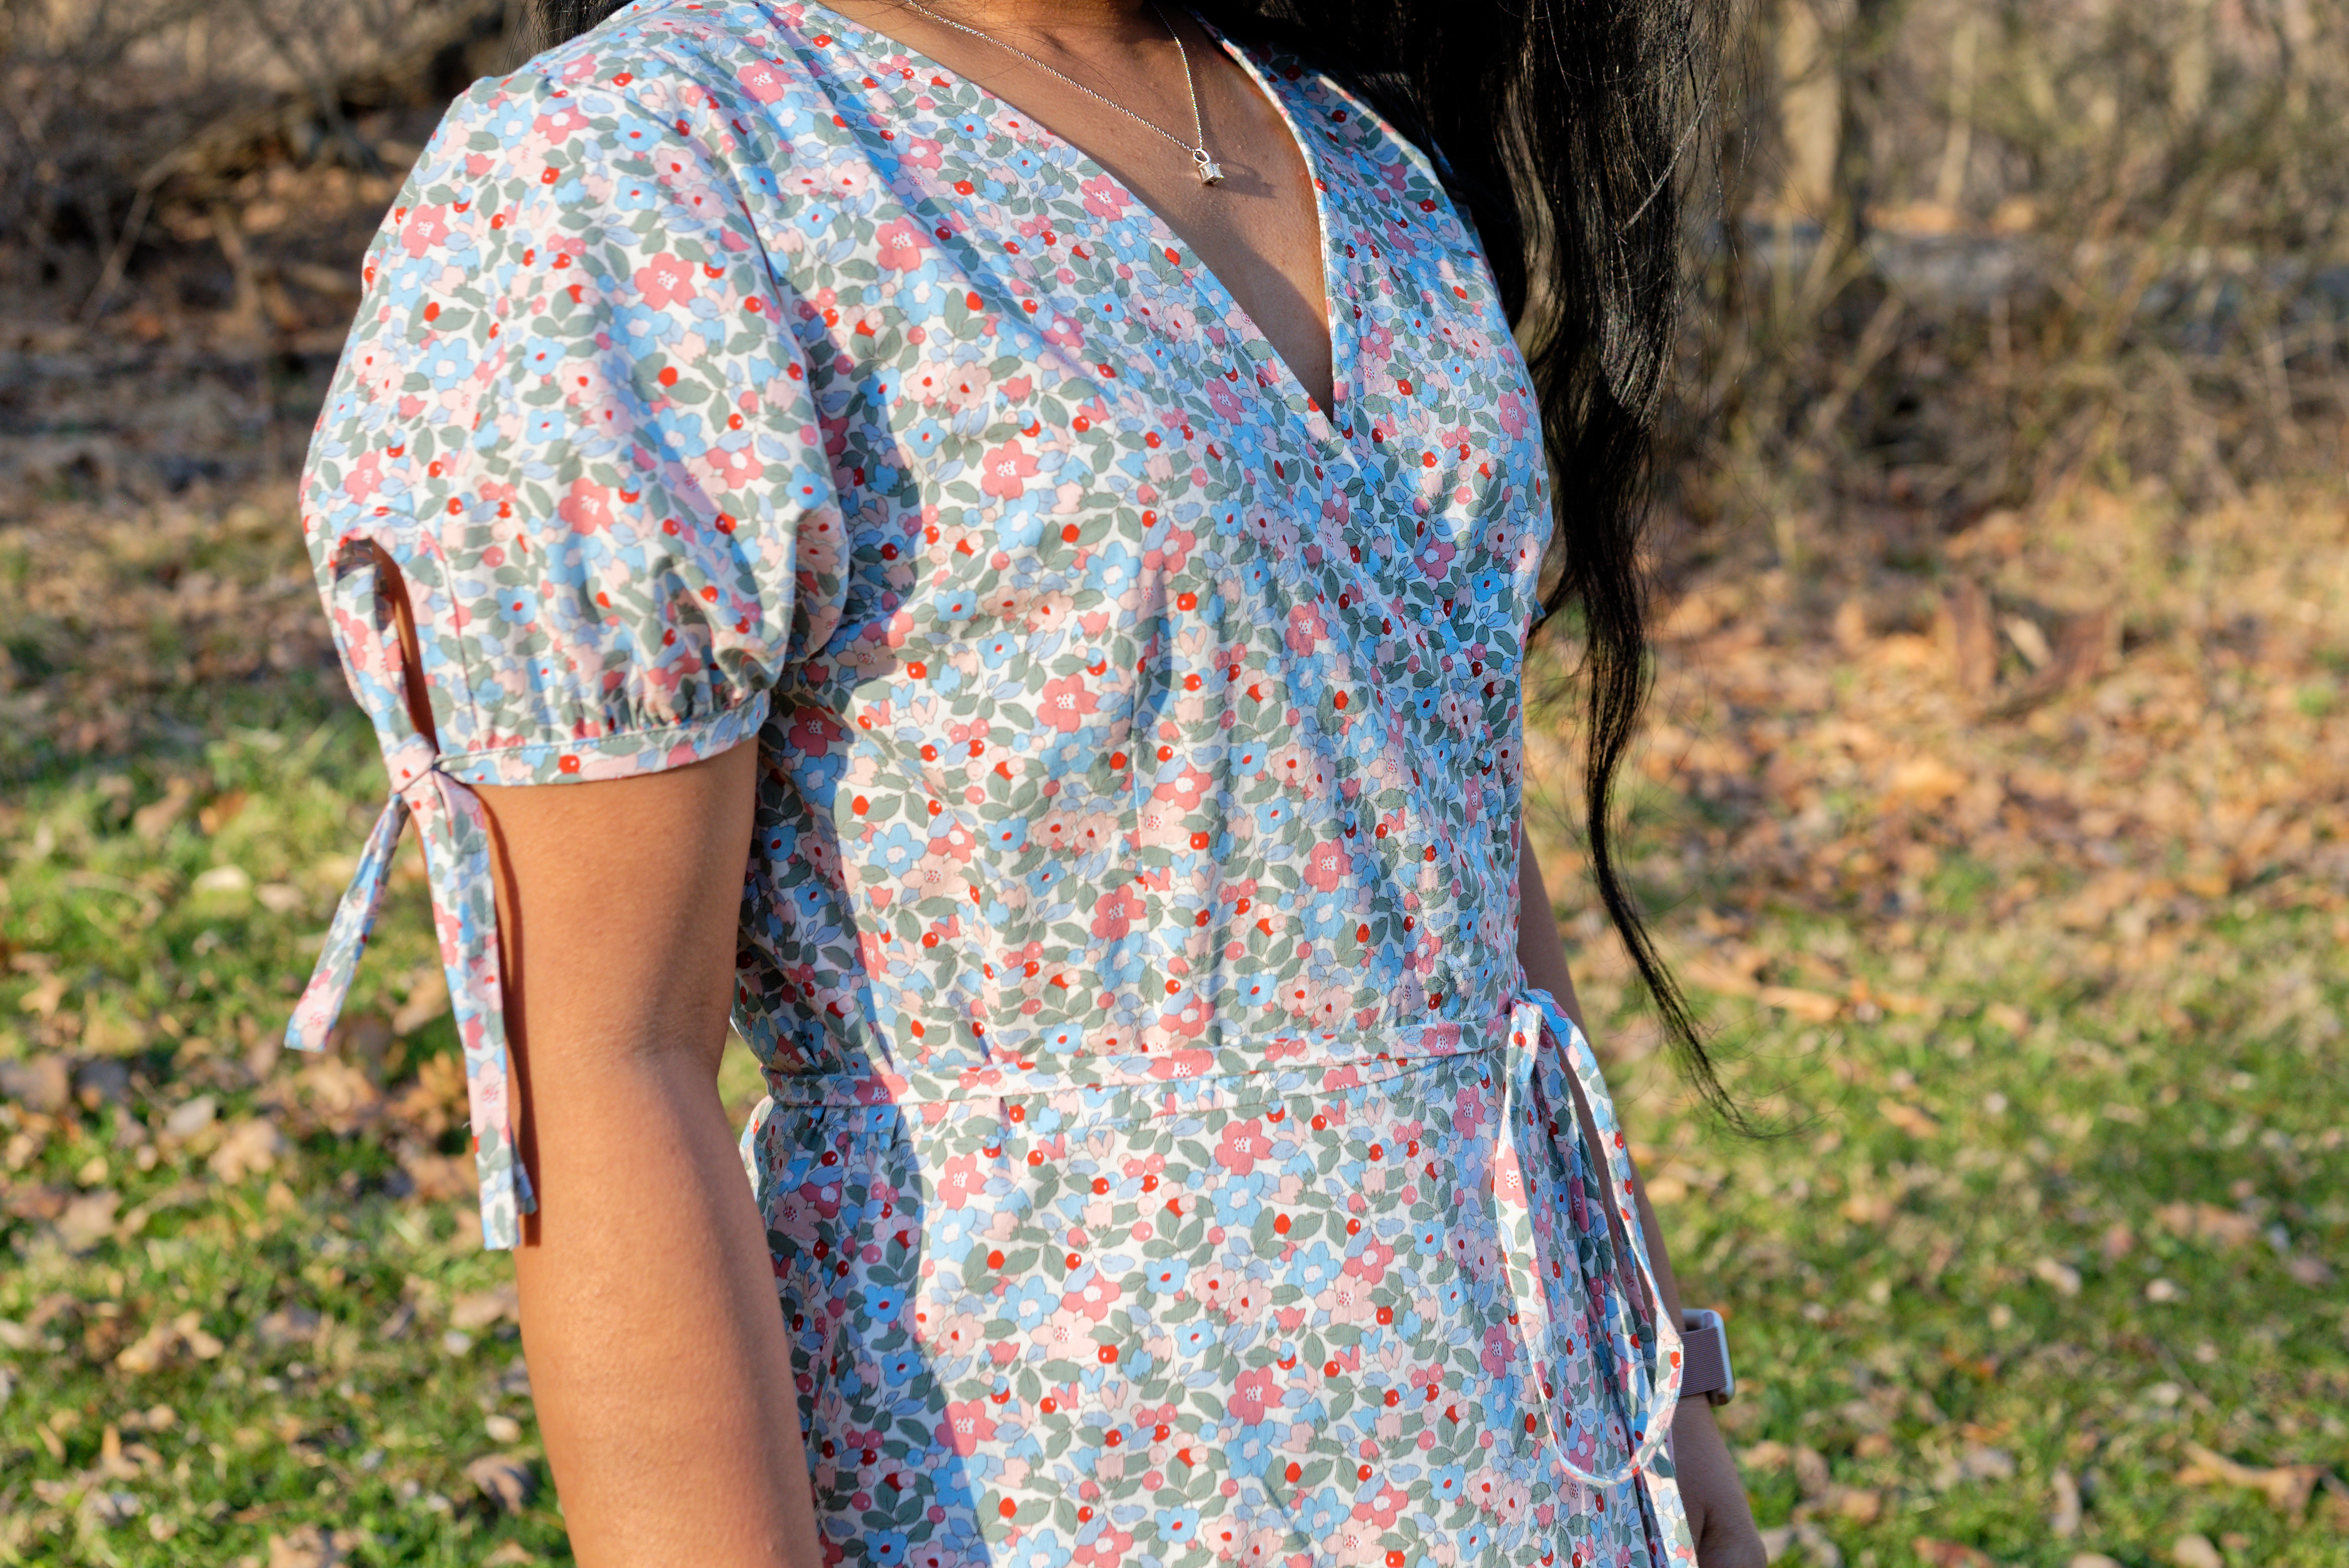
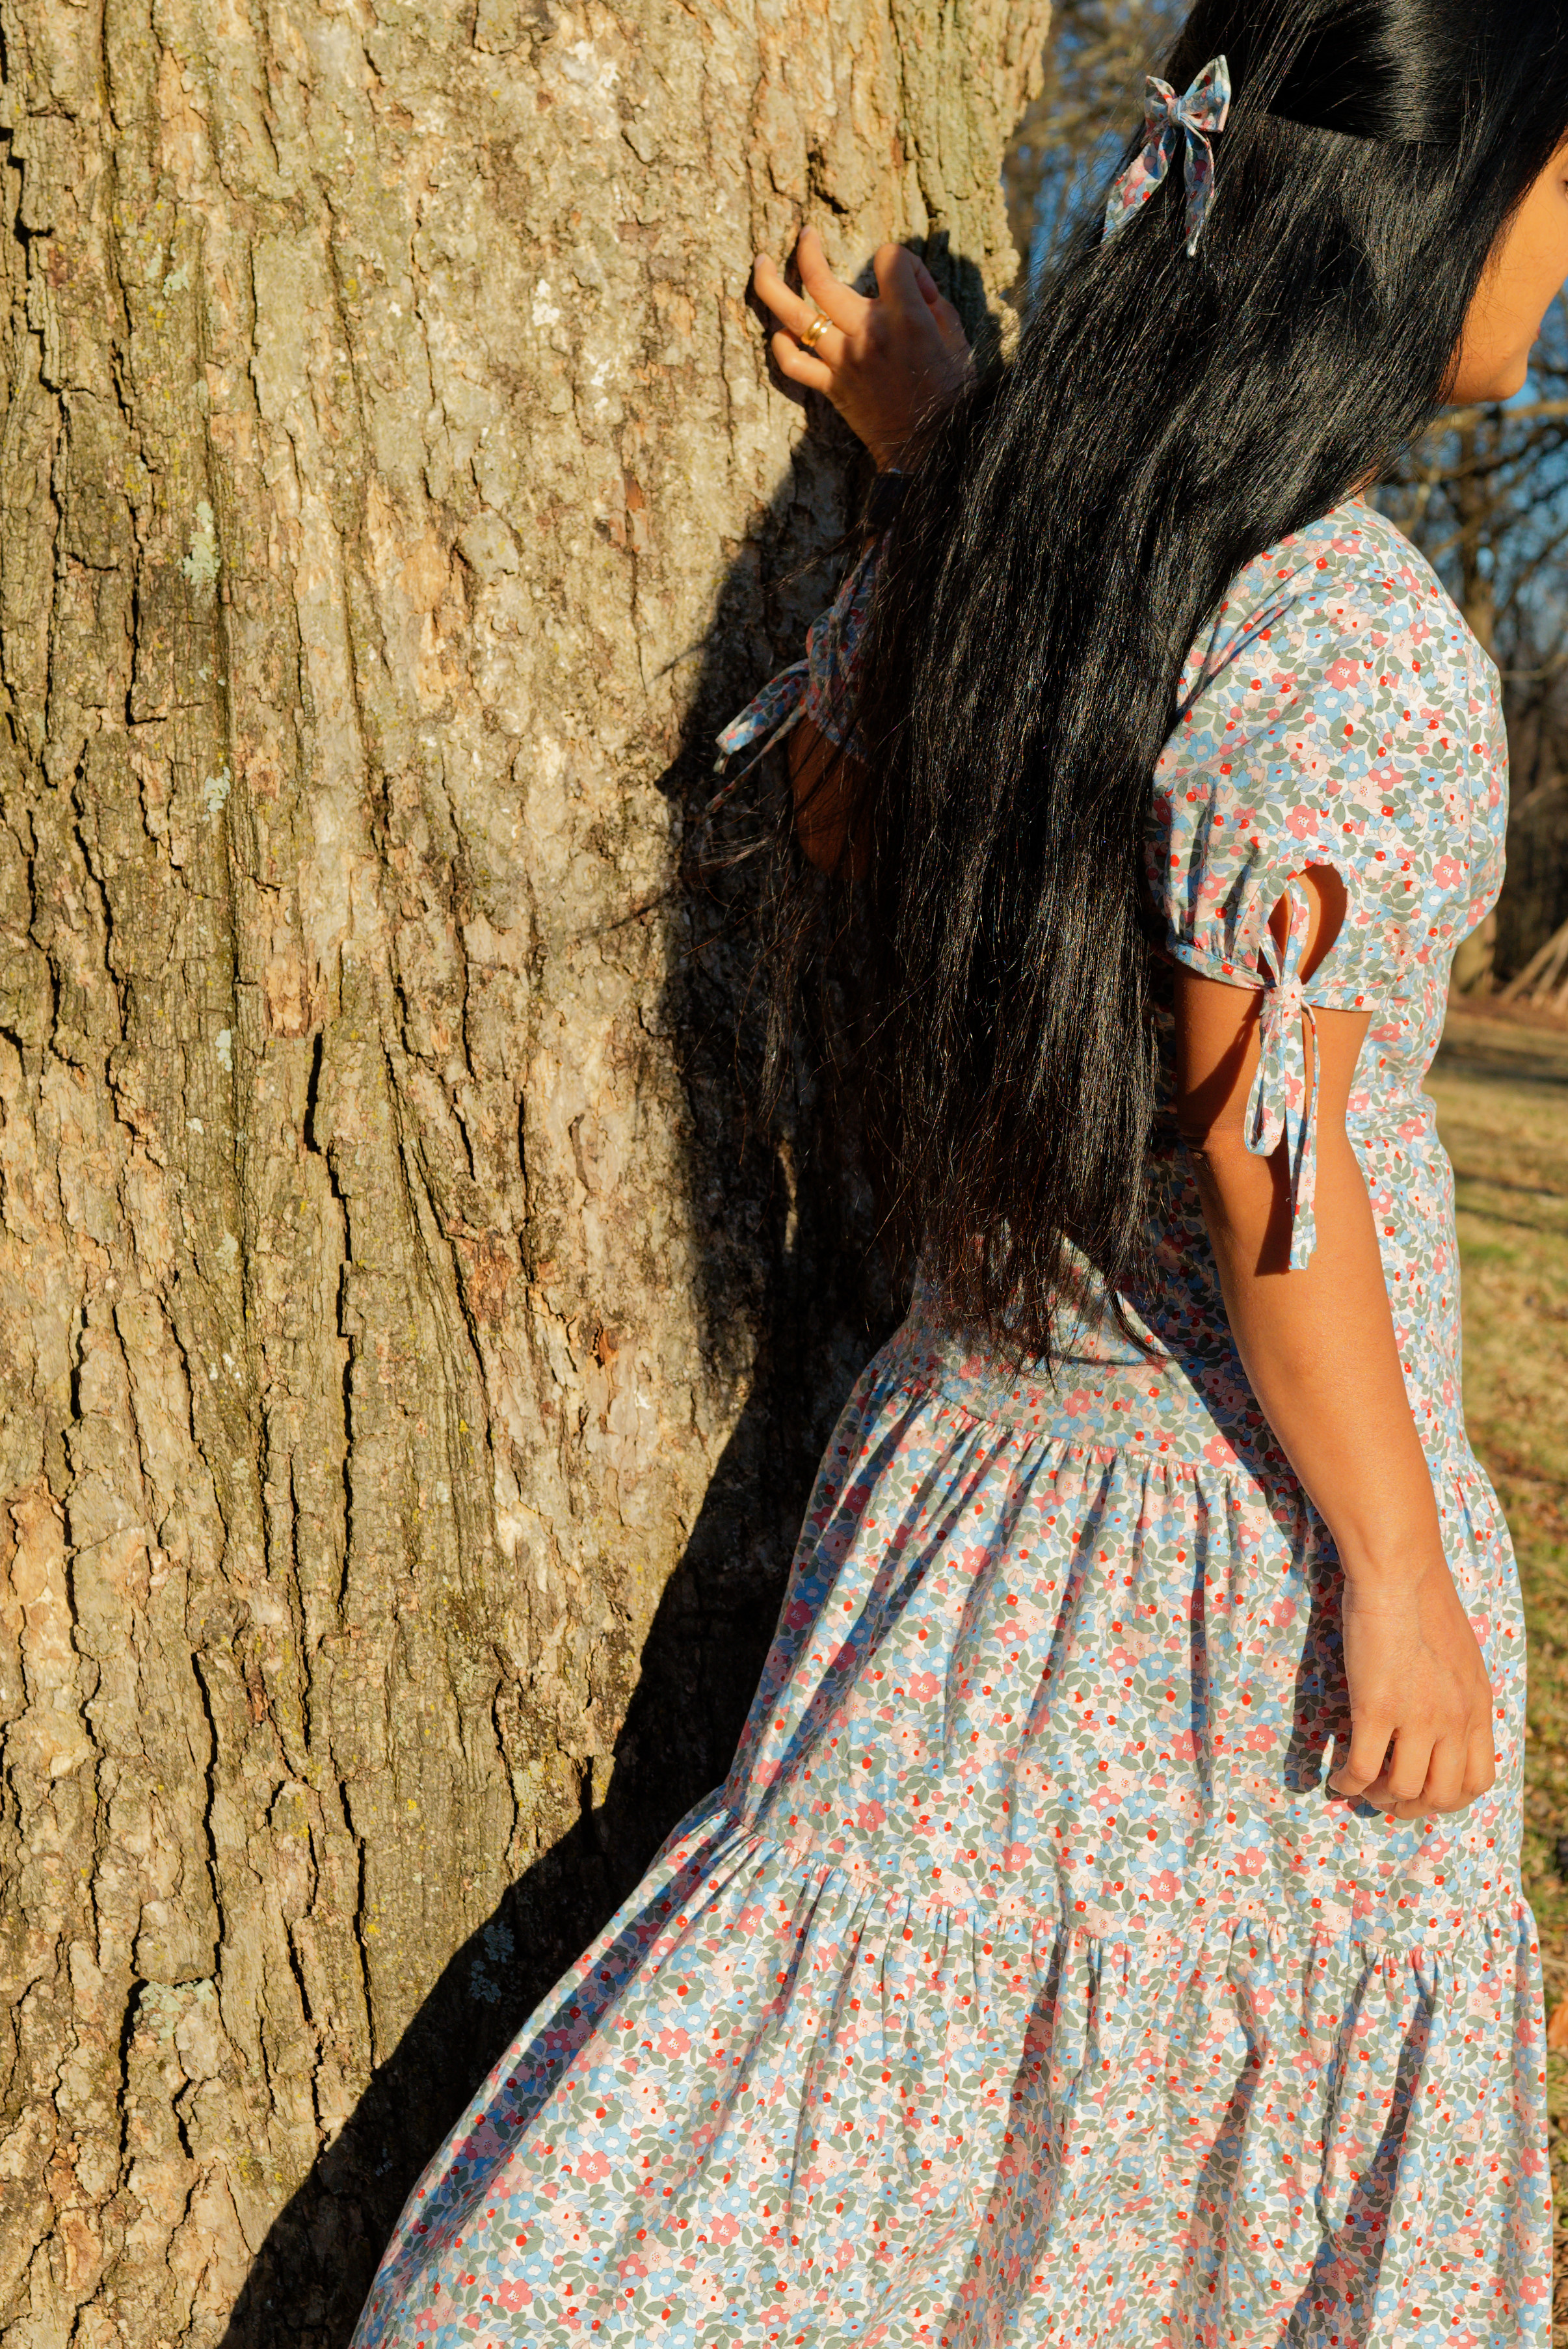
The last modification I made was to the sleeve. I used the flared sleeve from the pattern and at the centre of the sleeve hem, cut out a rounded keyhole that was 2.5” tall and 1.5” wide. This keyhole is finished with a 1.5” wide double folded bias strip. Since the bottom of the sleeves is finished with bias tape, I trimmed off the 1/2″ hem allowance from the pattern. The bottom of the sleeve is gathered to about bicep width (the keyhole provides about 1.5” of ease). I added the ties and finished the bottom of the sleeve at the same time with one continuous strip which was about 1.5” wide (double folded like regular bias tape) and about 30’’ long.
The next step is to make sure your bobbin is full and sit back and sew about 180” of the skirt hem folded by ¼” twice 🙂
It sounds like a lot of steps but it was really fun to sew. This cotton poplin is easy to sew and handle and it feels so amazing to wear. It’s soft and light-weight and just enough drape to give this dress a beautiful volume. I love it so much!

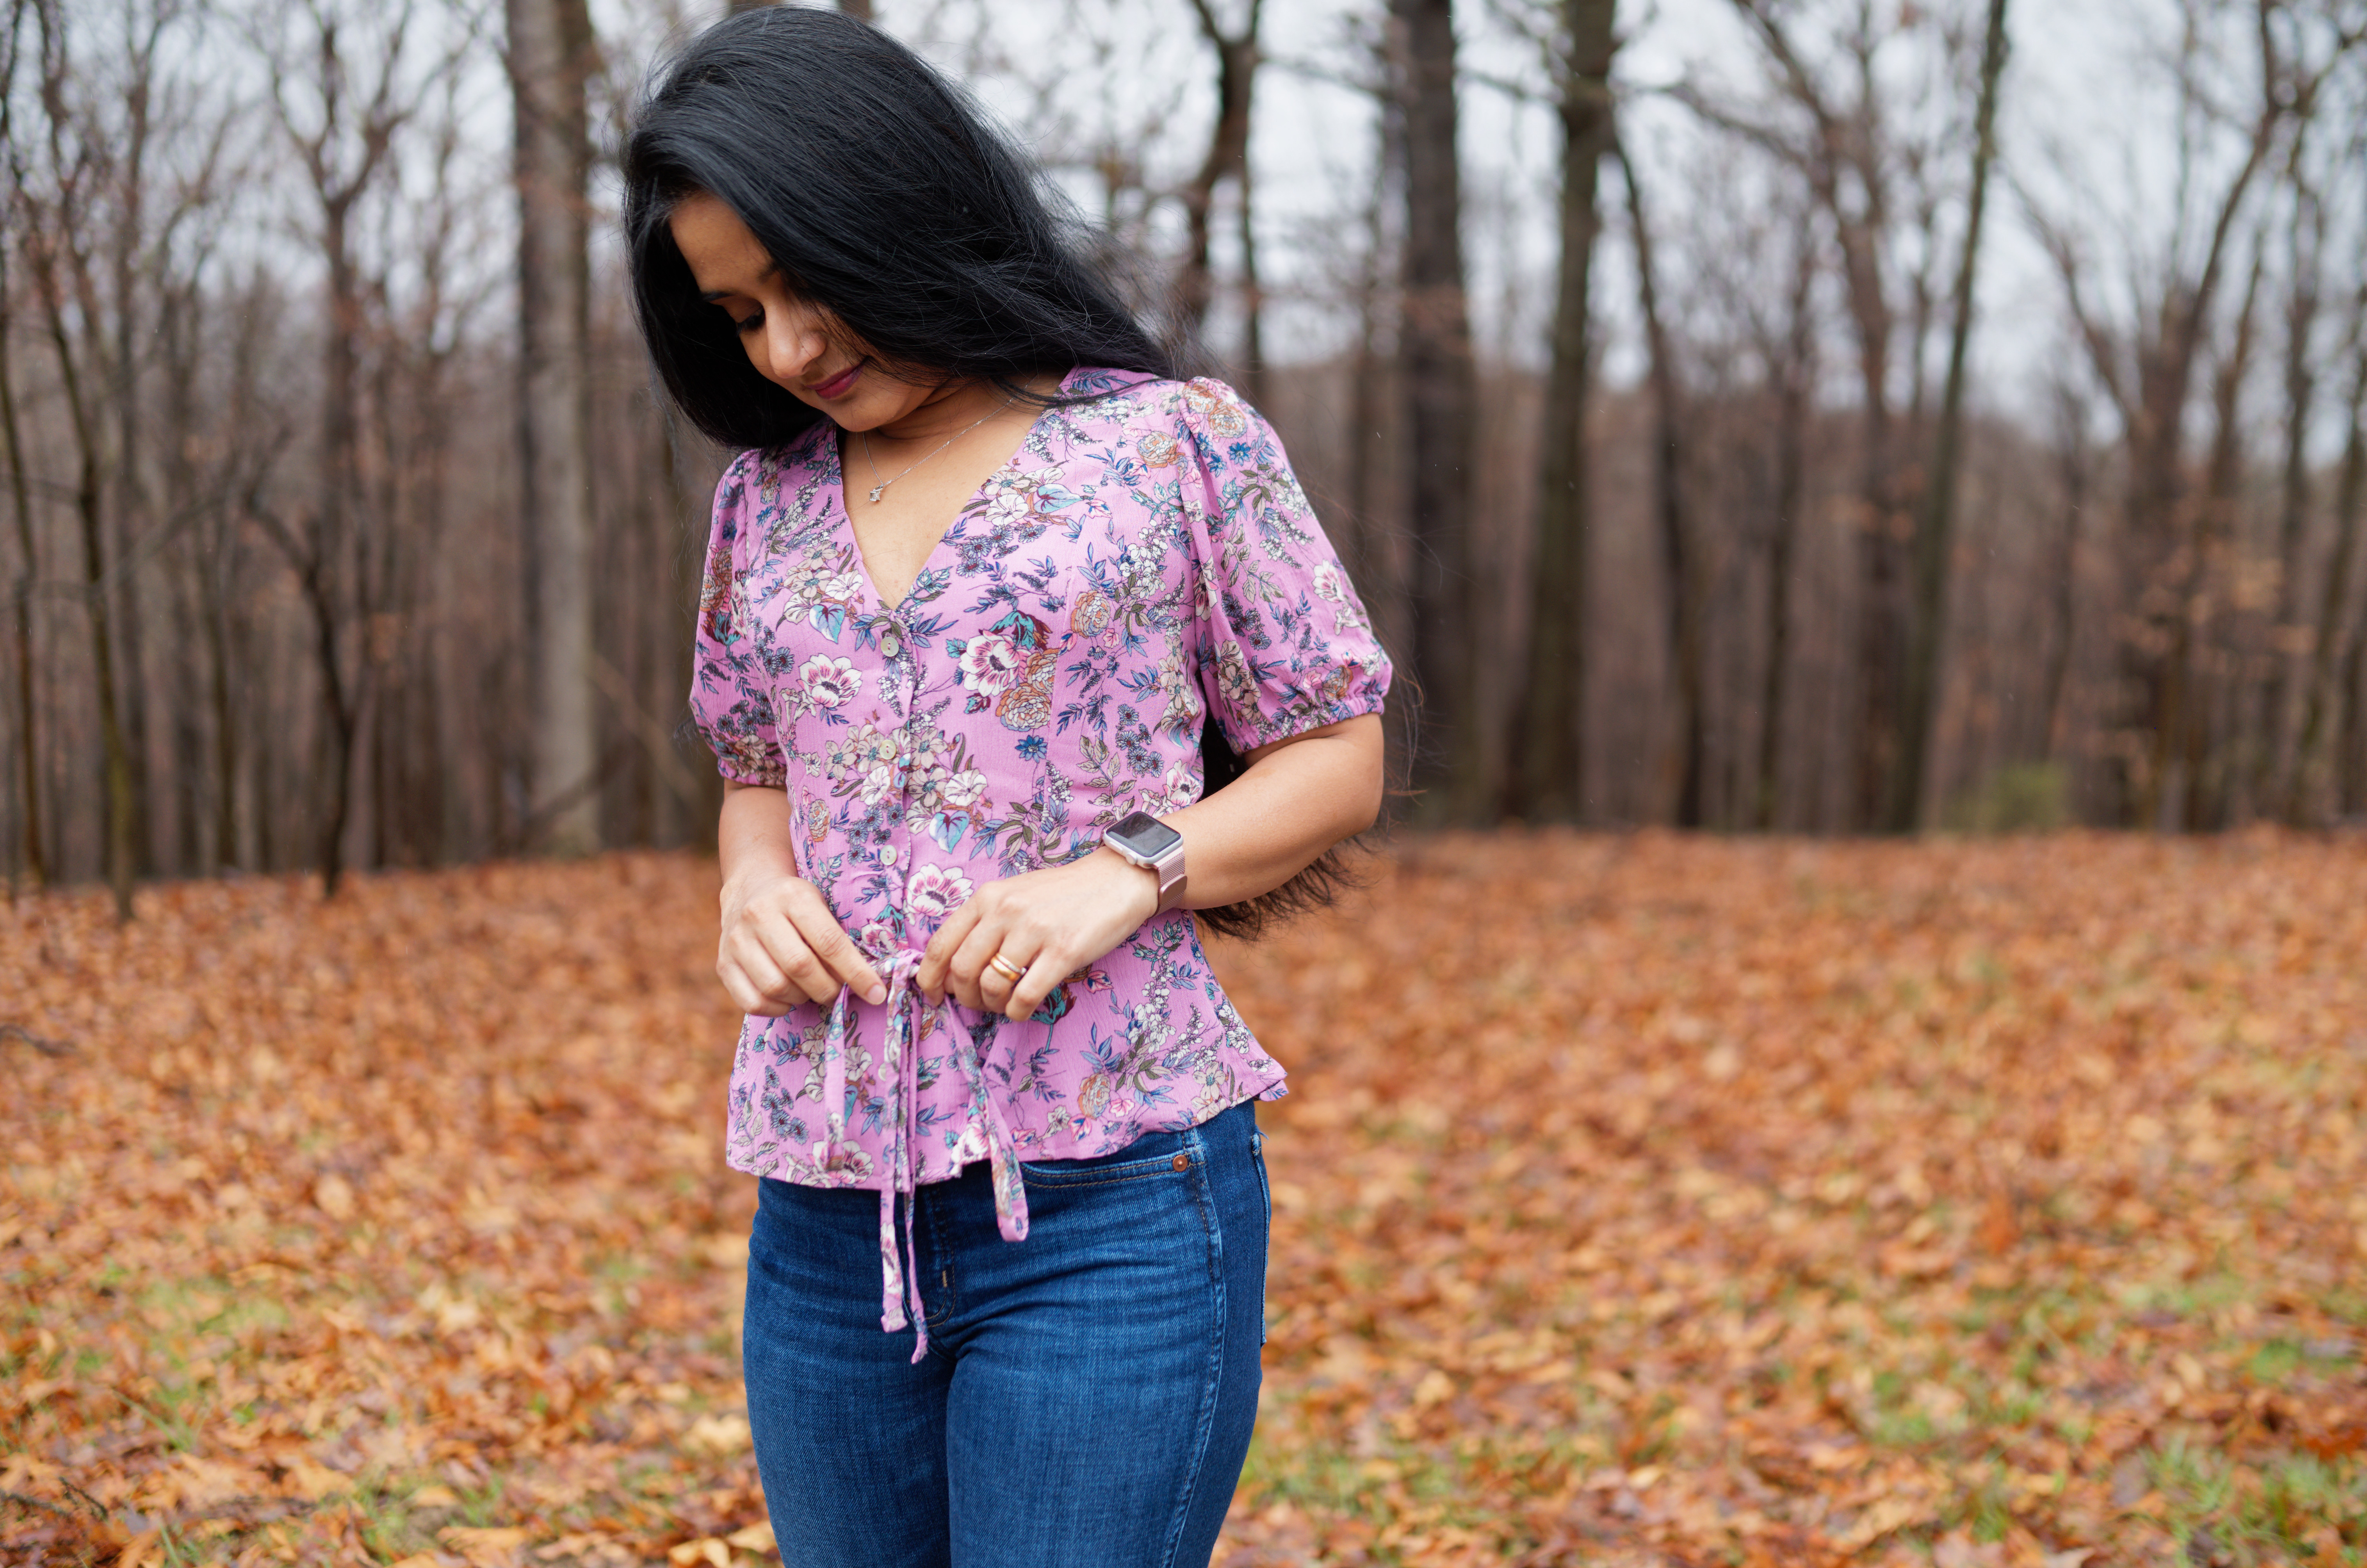
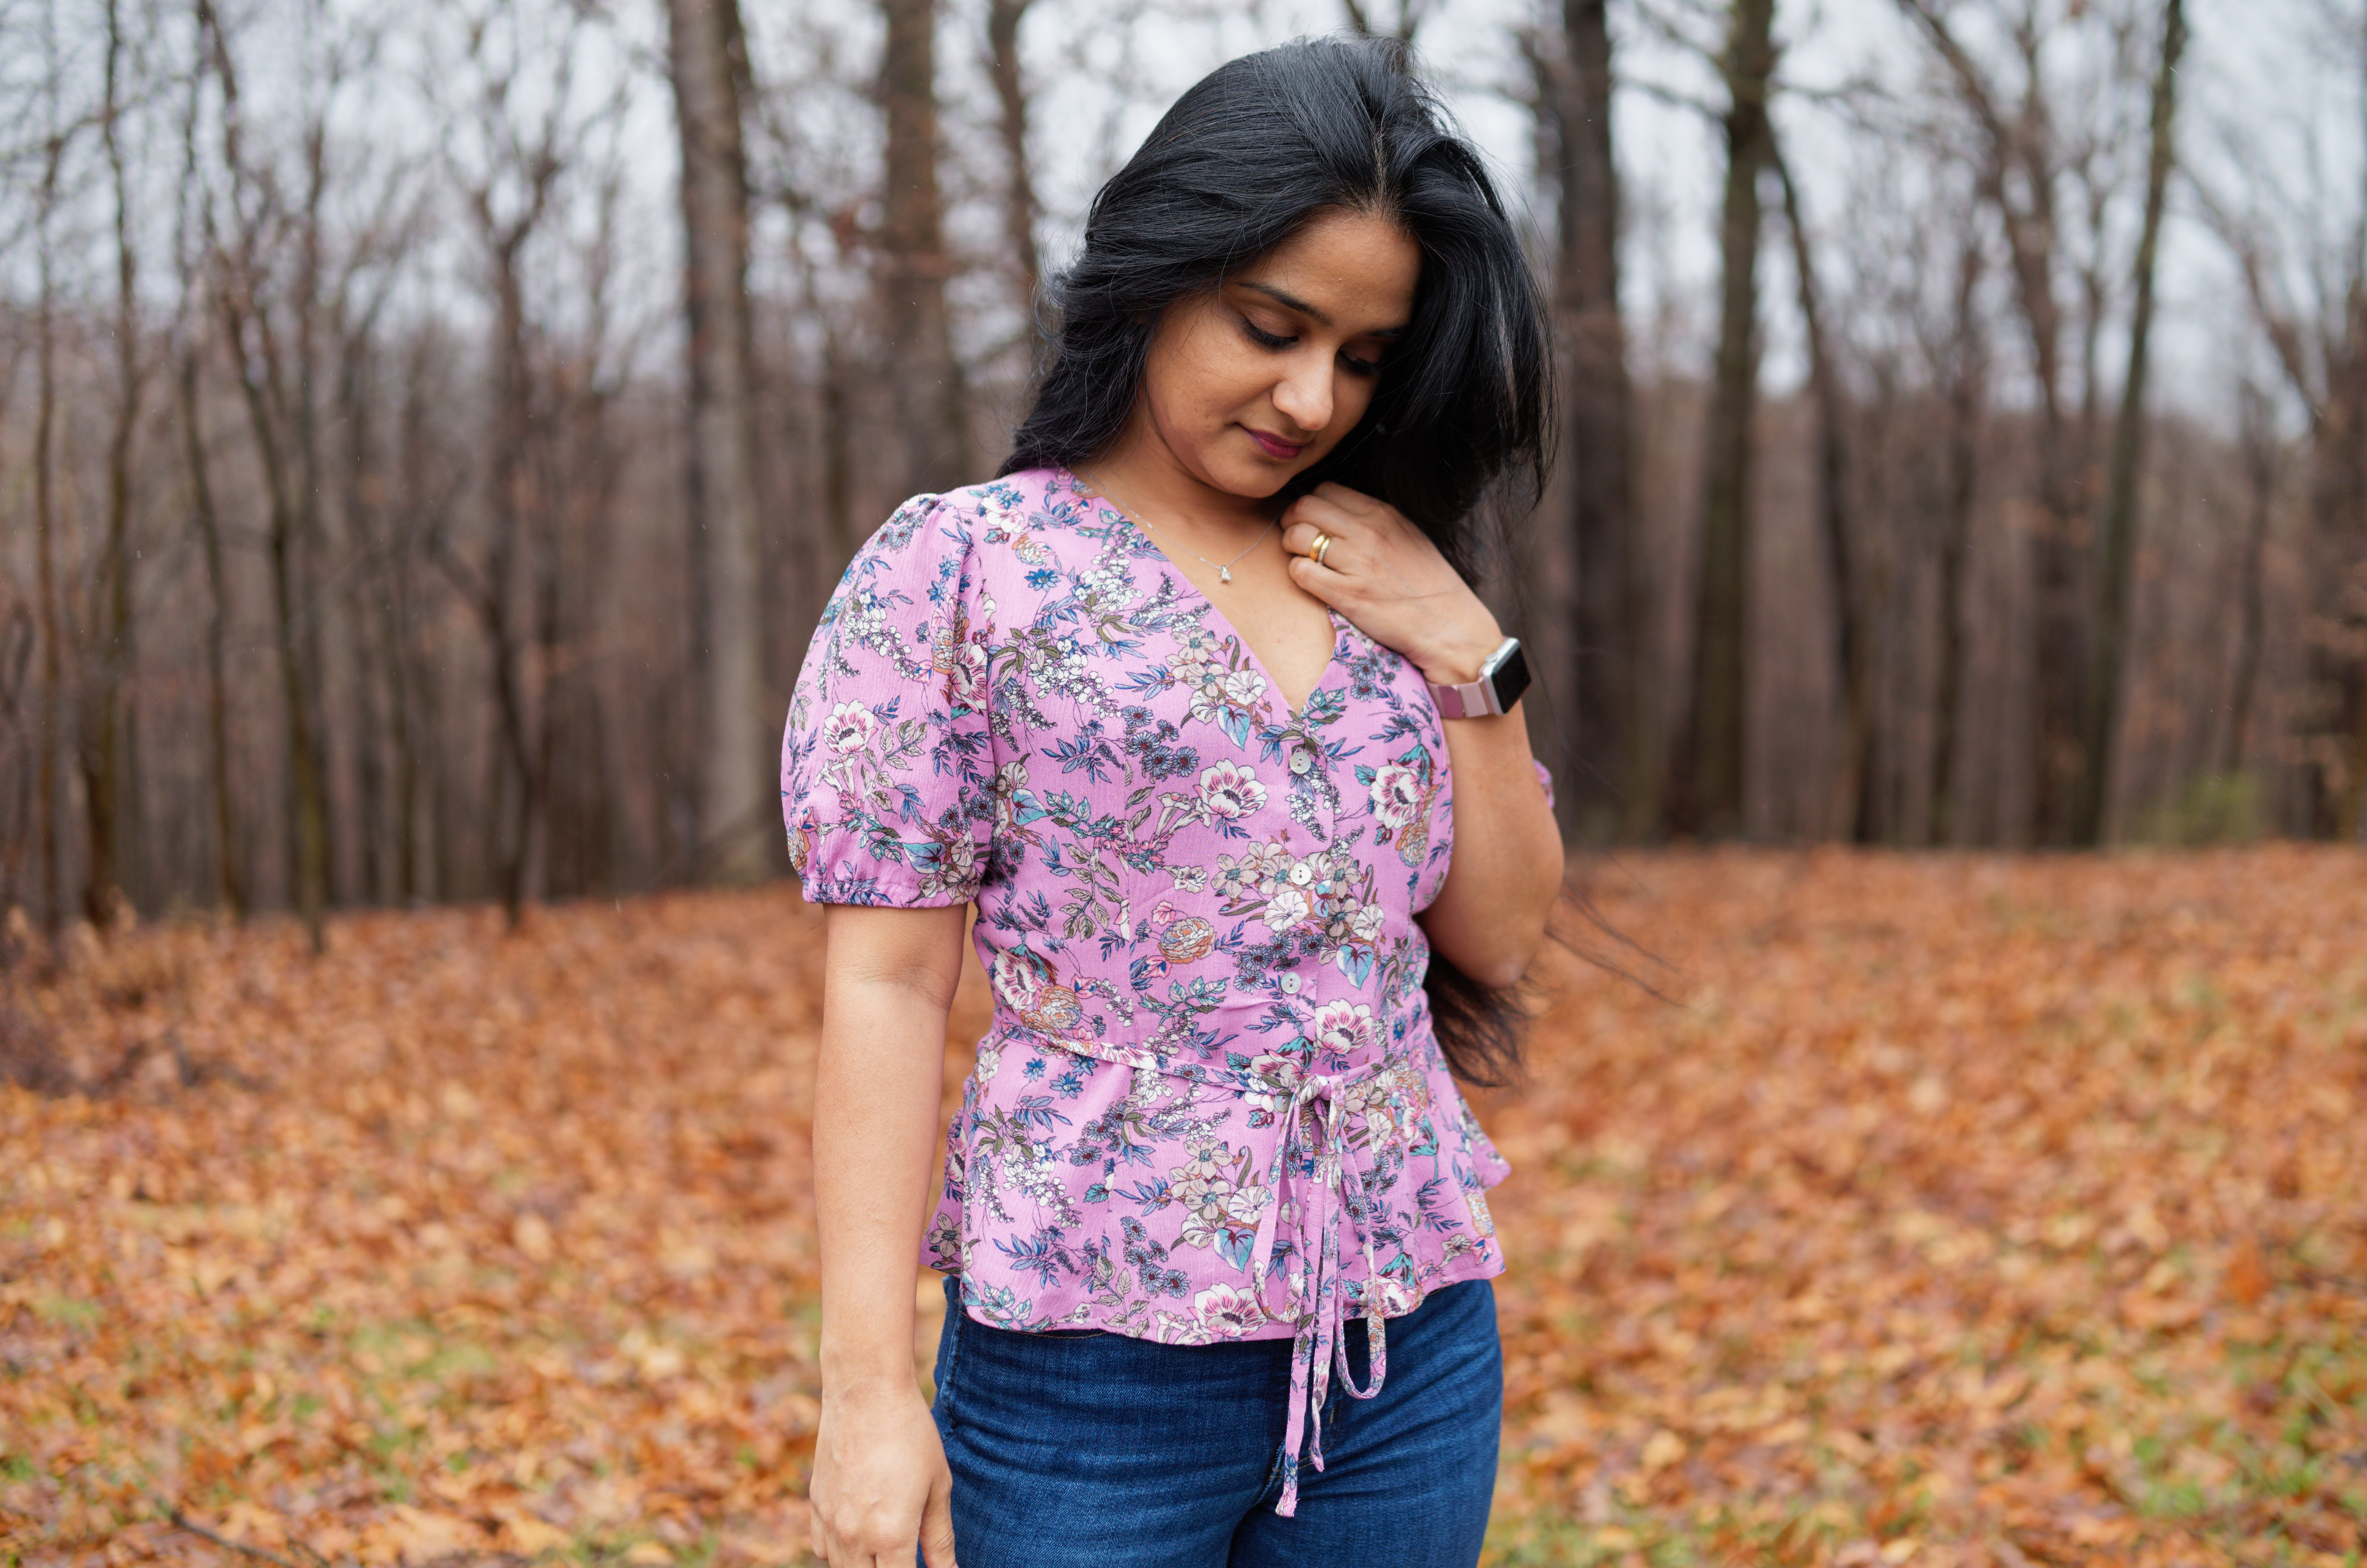
I hope you’re not tired of my rambling because I have another spring make to share with you. These florals are so beautiful, I couldn’t help myself! For this one, I used a gorgeous rayon crepe in pink. It’s almost like a mauve pink and the print is truly romantic. The fabric also has a nice crepe texture and a lovely drape. For my blouse, I used shell buttons that I had on hand but check out the buttons section at stylemaker fabrics, they have such gorgeous buttons.
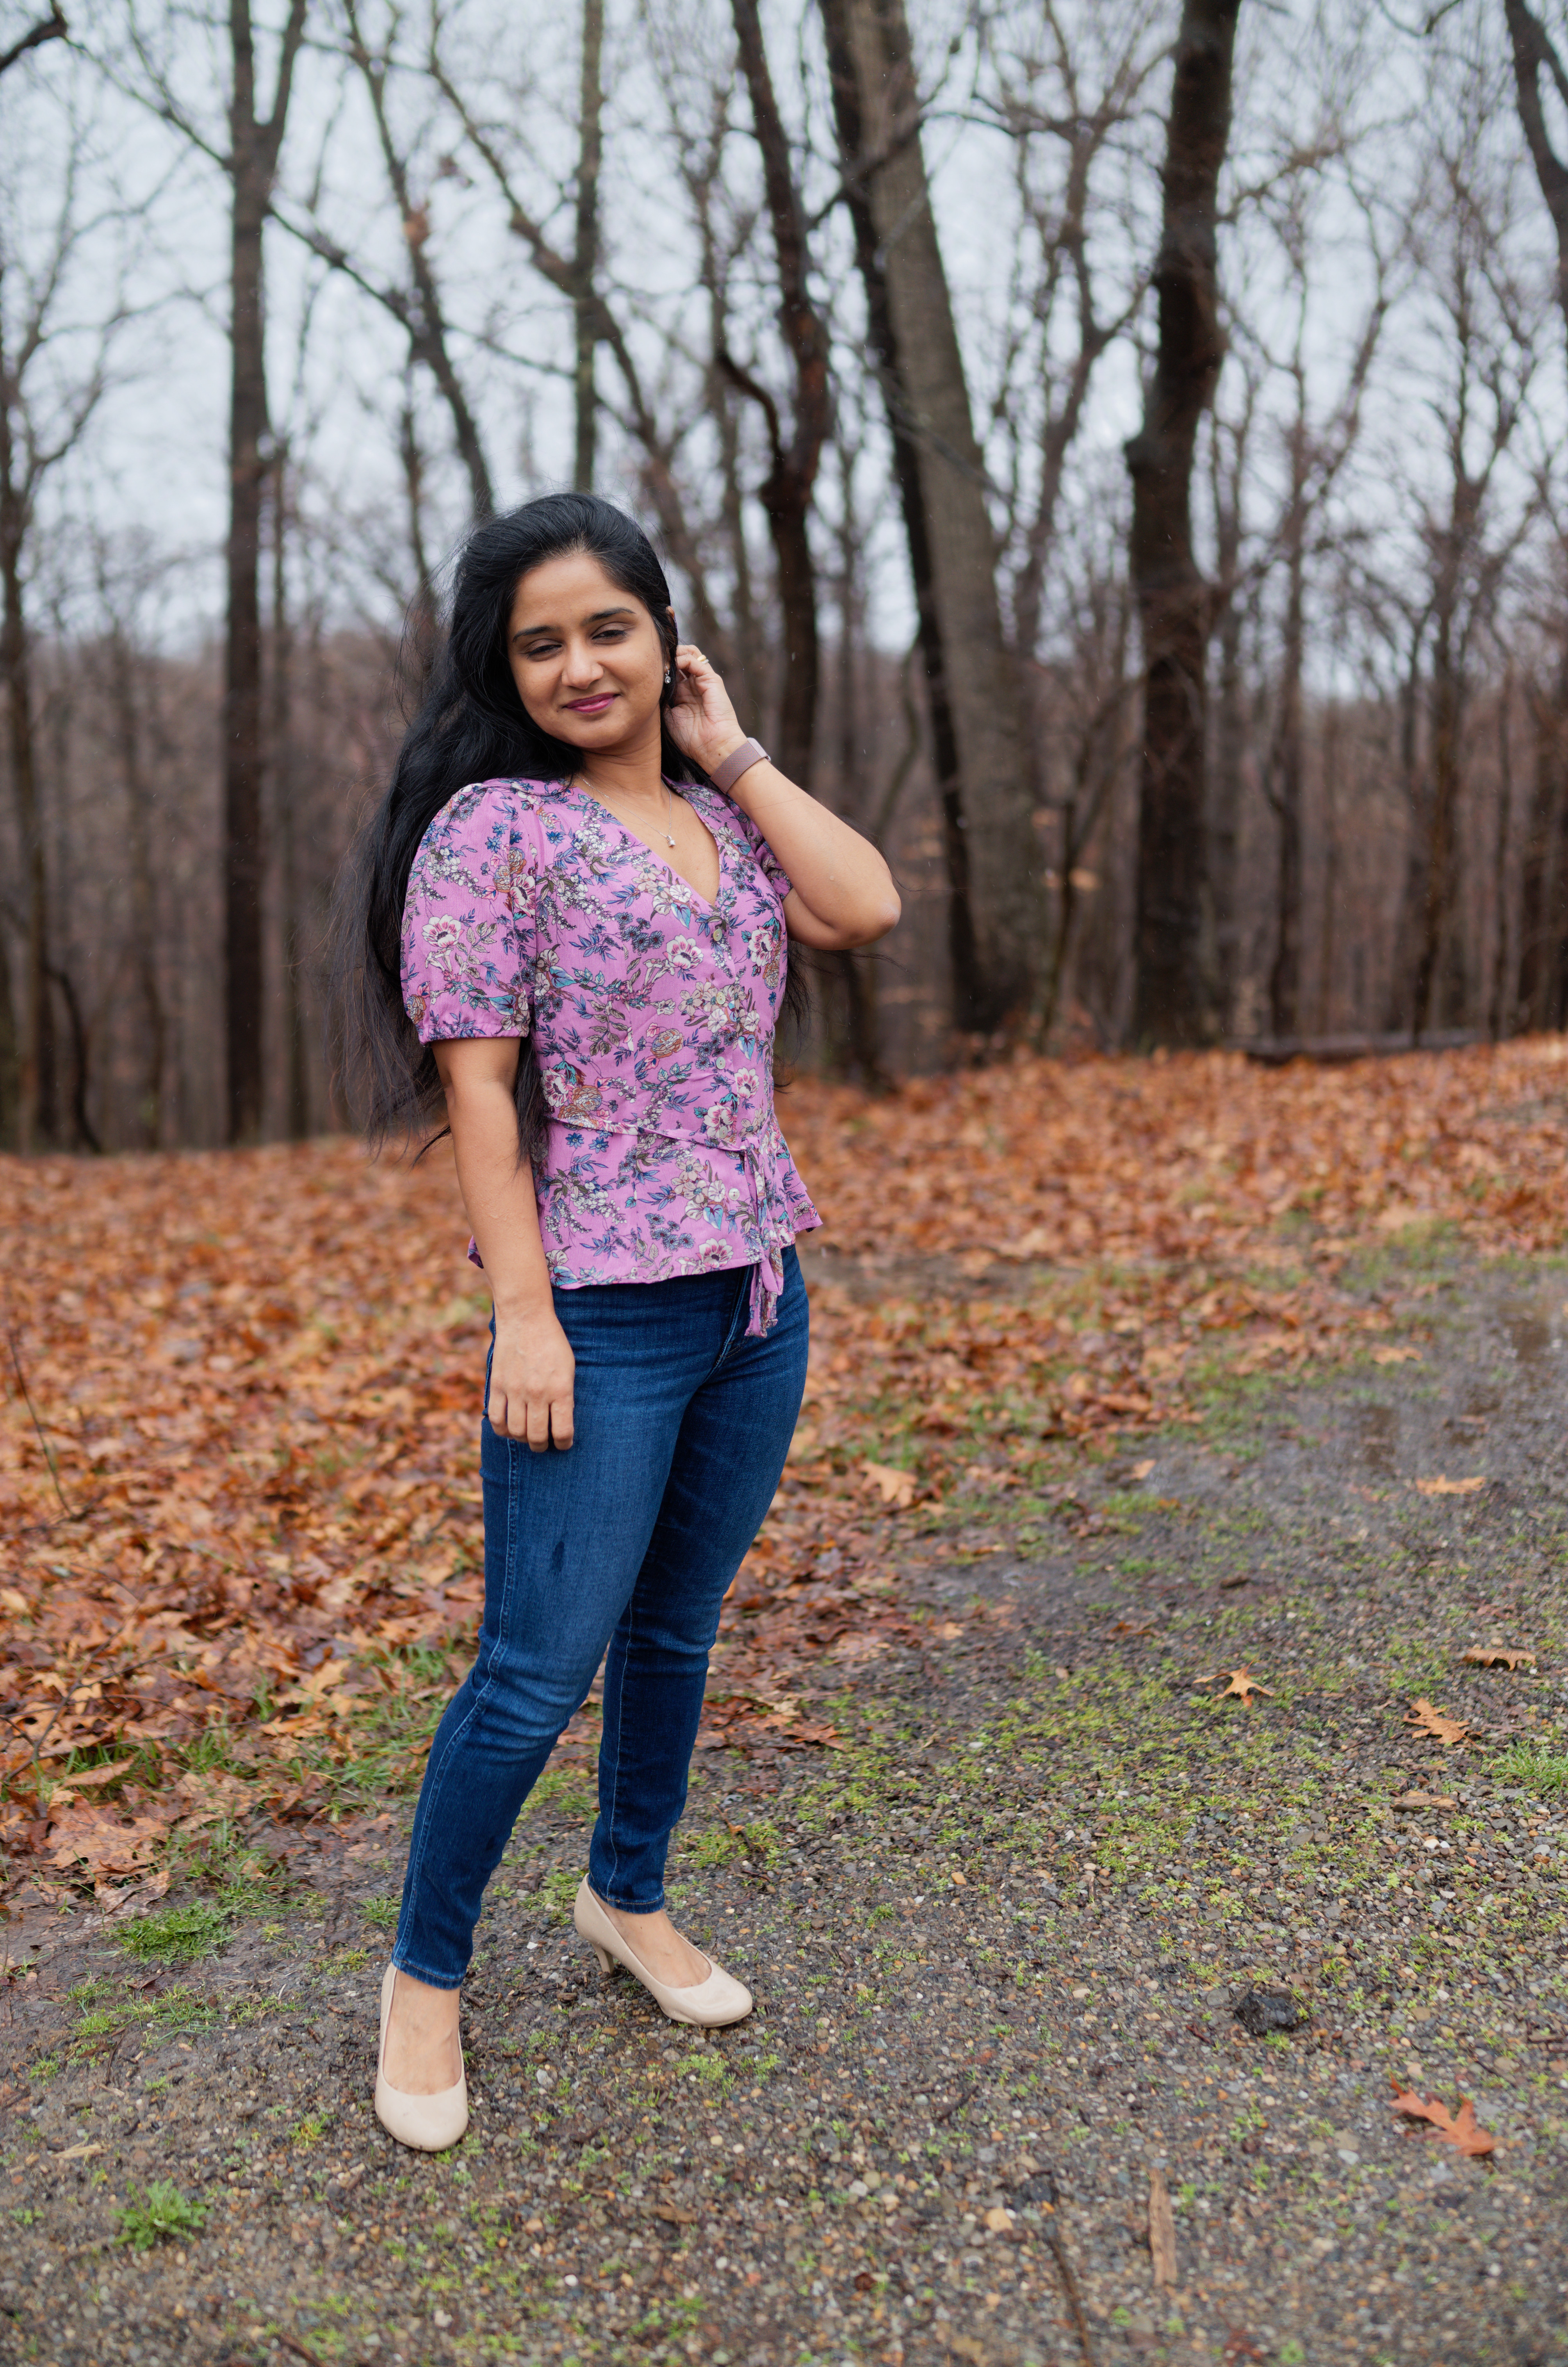
I used the Shelby dress and Romper by True Bias patterns along with the blouse hack and puff sleeve add-on from their blog. I’ve made this exact blouse before and I love wearing it so much that as soon as I saw this fabric, I knew I had to make another Shelby blouse.

The Shelby dress is a princess seamed dress or romper and comes in two lengths – a mini length and ankle length. But the tutorial on their blog has detailed step by step instructions for converting it into an almost peplum like blouse with ties.
Based on my bust and waist measurements (32″ and 27.5″), I made size 0 for the bust blending out to size 2 at the waist and hips. I could have taken in some at the princess seams but the fabric drapes so well, I can hardly tell the difference so I let it be.

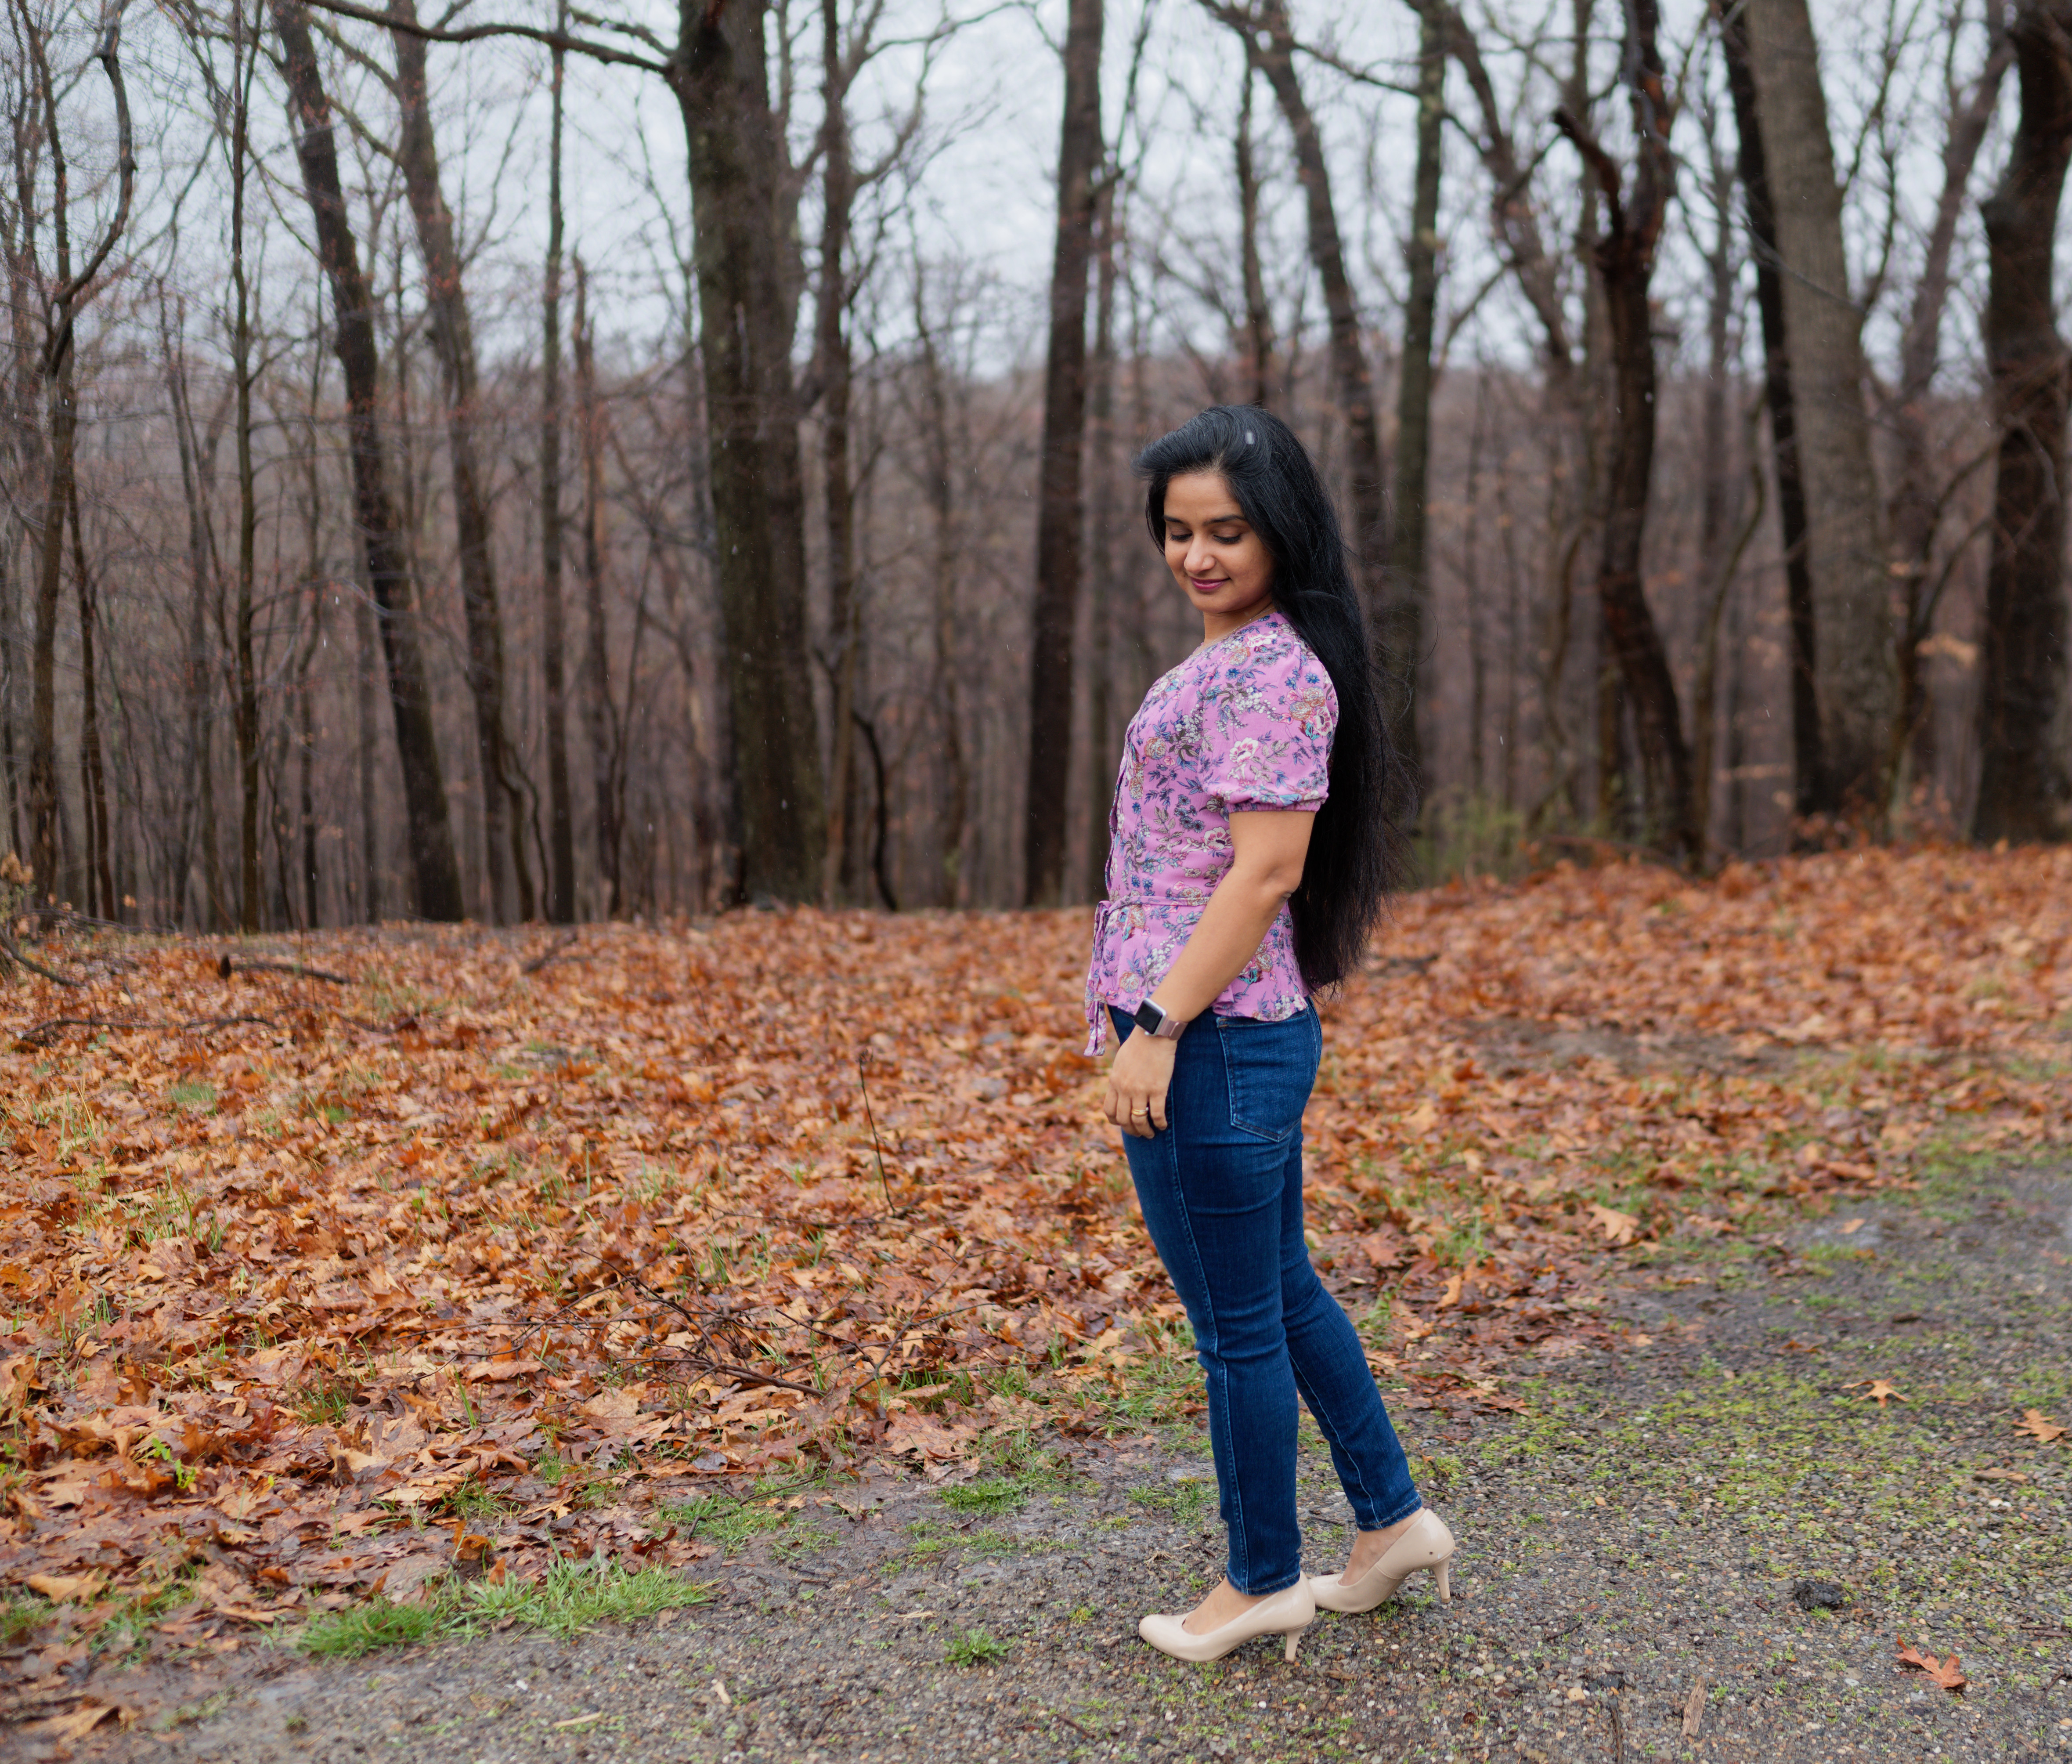

I had so much fun creating these pieces and absolutely love how they turned out. This feels like such a beautiful way to start spring! Thank you for stopping by 🙂
Please follow along here for the rest of the tour. I am so excited to see what everyone has been working on!
Happy Sewing!
The fabrics I used were provided to me by Stylemaker Fabrics as part of the blog tour but all thoughts and opinions in this blog post are my own.


These are both such beautiful makes!!!! I love how you made a true wrap dress; I totally want one now!! 💕
LikeLike